Movie Room Teaser
We can’t reveal the whole door all at once! Need to keep the theatrical suspense and drama going. For theme’s sake… We officially finished everything just last night, and got to christen in the movie room with all the roommates. Unfortunately it was late and dark, so Joe’s taking some better “after” photos today. If the rain lets up we may even get graced with a hint of natural light. Start here for the beginning of our door, and here for the finished product.
But until then, we have a lot of the build to share with you guys. We did this door in fits and starts, but it definitely took a lot of time and energy overall. We both agree, this project scored two thumbs up 🙂
Where were we?
I think when we left of we had just bought all of the flooring. Flash forward – We decided to use a piece of plywood and glue the boards to either side. Making the door a bit heavier, but our work a little easier. Adding a core gives a bit of stability to the whole thing as well.
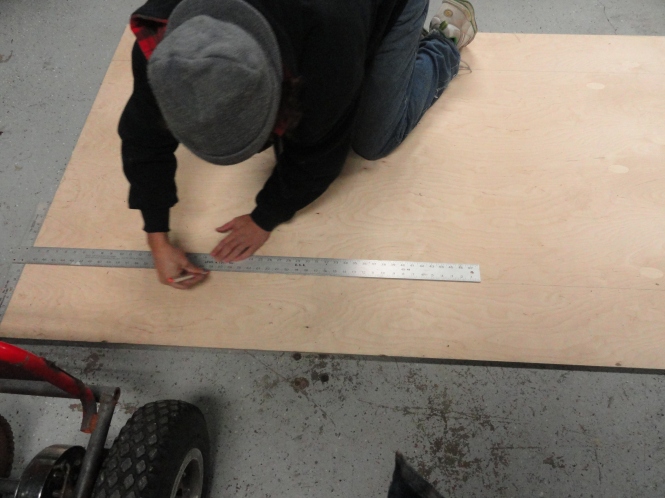
We determined the dimensions of the doorway and marked the plywood accordingly.
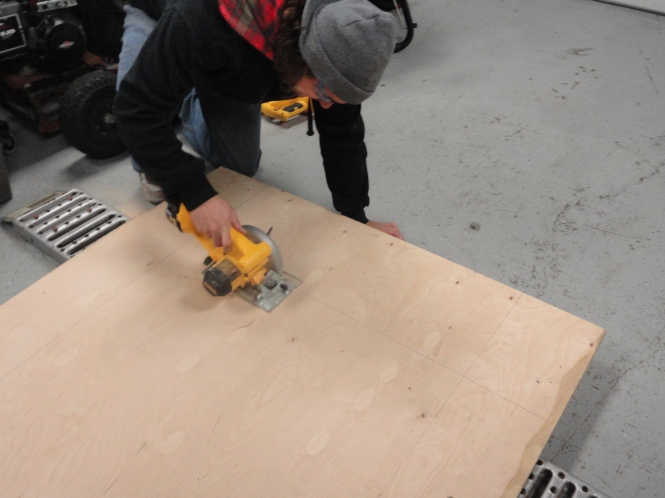
We cut it to size and got to work with the floor boards.
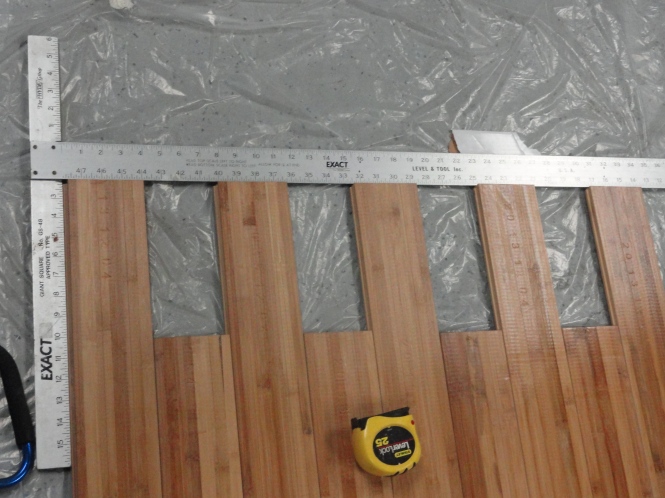
This task involved a lot of snapping together of the tongue and groove boards, and flushing them up against a T-Square.
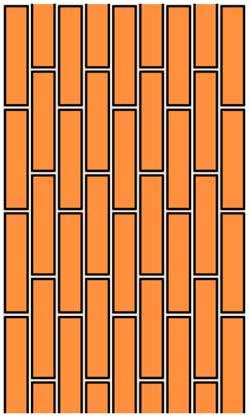
We made a staggered pattern like this.
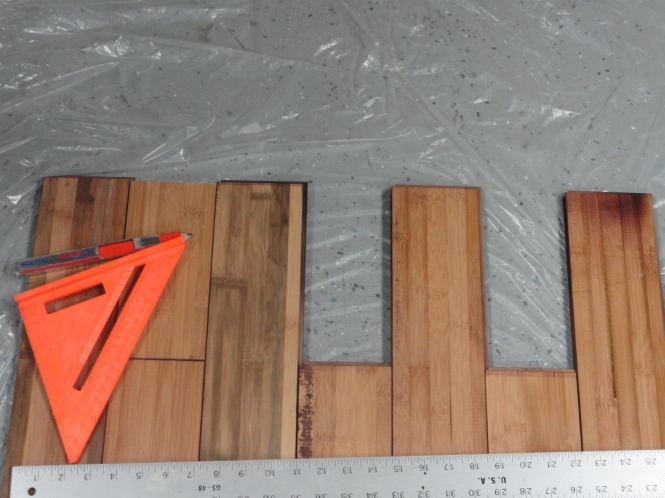
We did one side at a time, and determined that we needed to cut a handful of pieces in half. Luckily we were able to repurpose the tops/bottoms and had just enough wood.
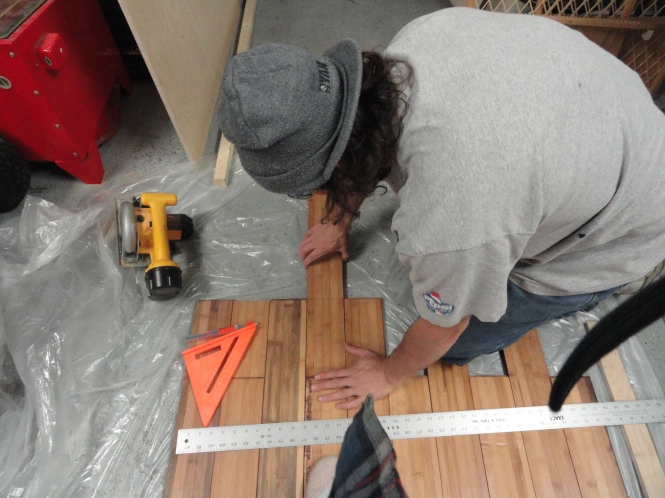
Now since these have tongues/tabs on one side, we needed to cut off some to fit with the repurposed end pieces that we had to cut in half.
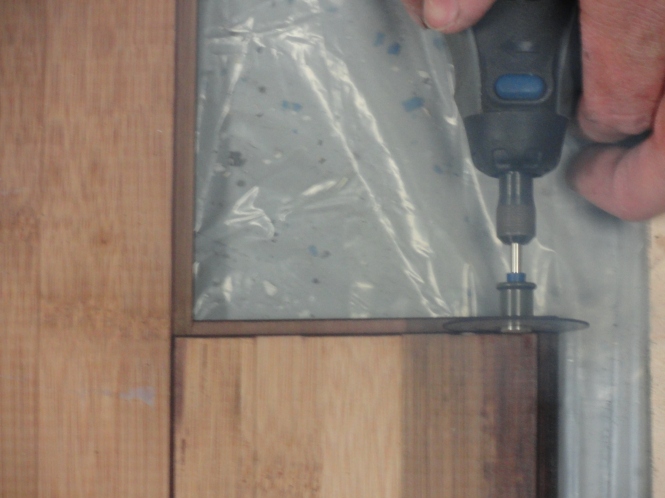
Otherwise it was like trying to put a peg into the end we leveled off. No notch = no fit.
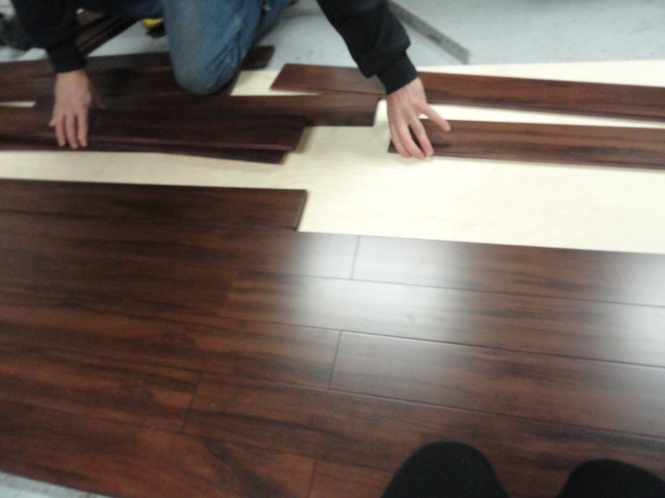
And then rinse and repeat on the reverse side.
Let’s Get Gluing

Think this is too much glue?

Liquid Nails
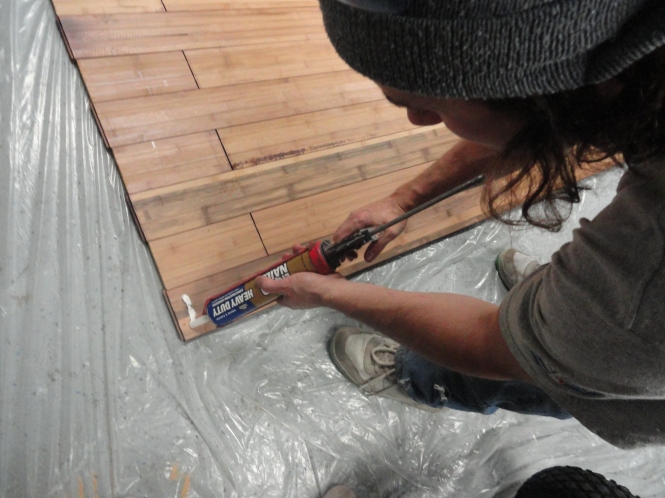
It really lives up to the name!
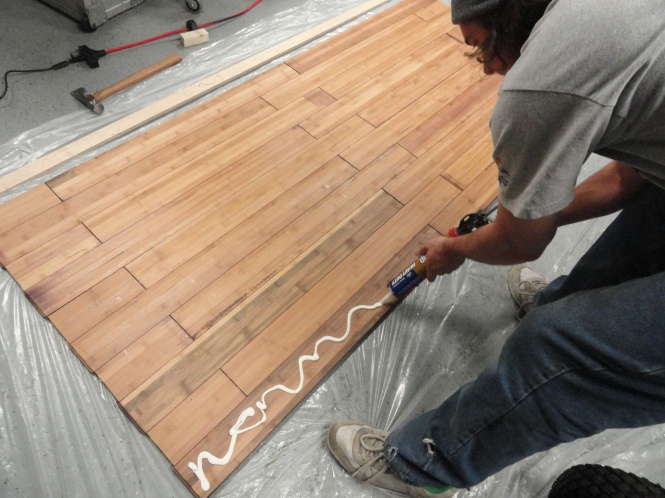
The reason we needed so much is because you have to be quick — This stuff only lasts about 45 seconds before requiring us to load a new tube.
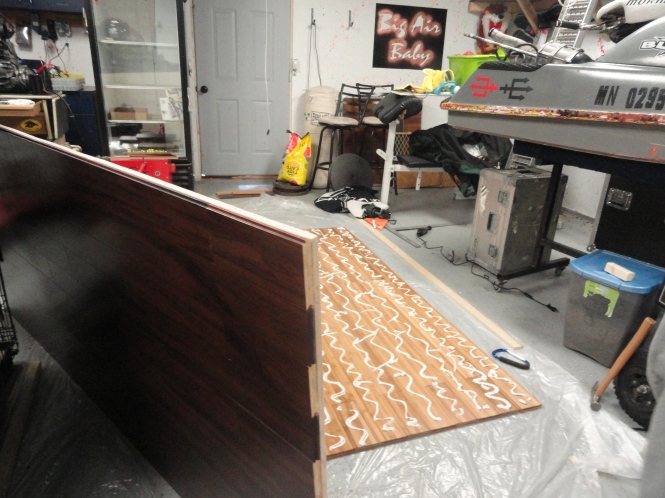
We glued each side to the plywood.
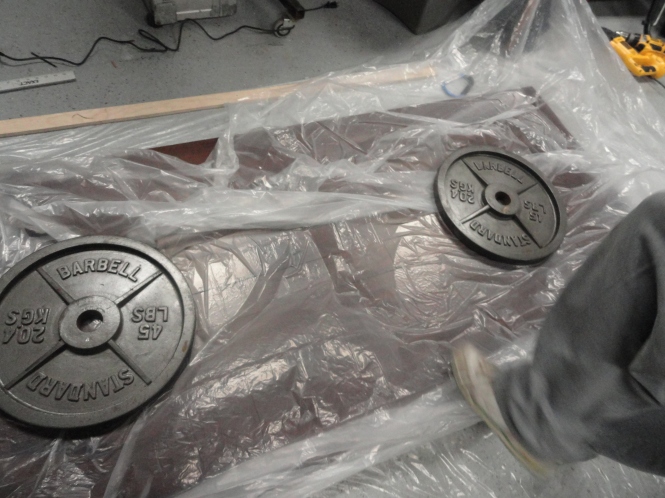
And very carefully, we evenly distribute weight around the door so it would dry without warping or welcoming in air bubbles.
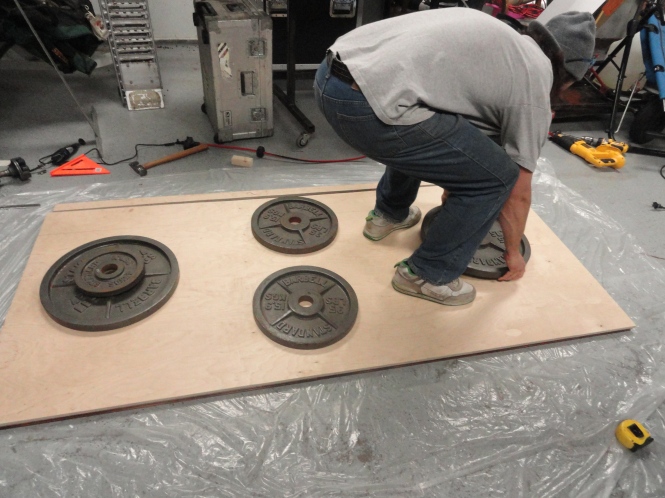
We glued one side at a time to be extra precise.
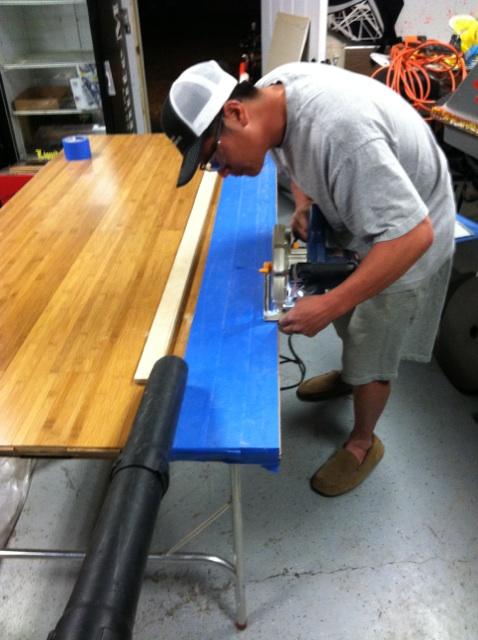
Once it dried, Joe and Steve went to work tidying up a couple parts. The door was slightly wider than we wanted.
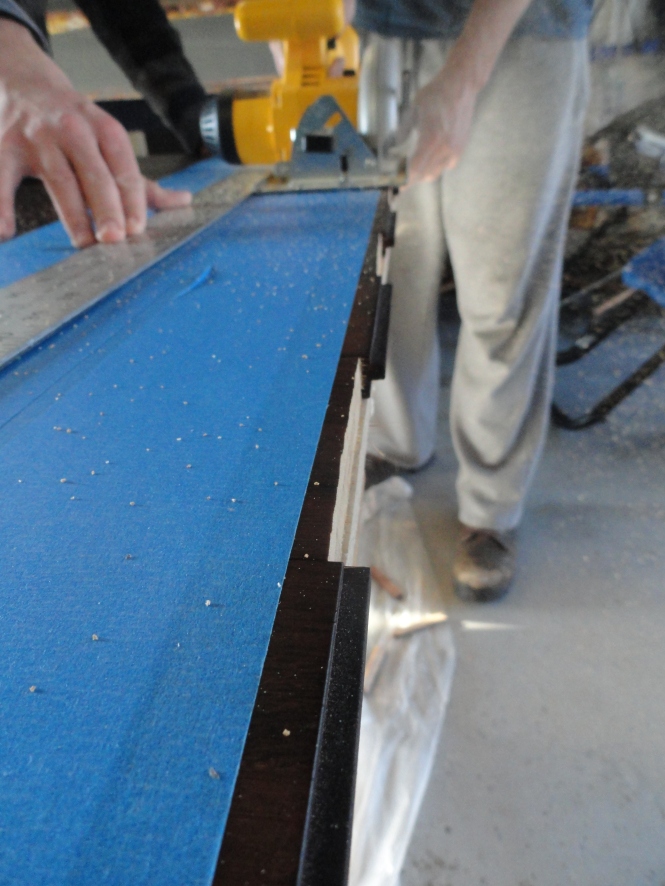
Remember all those awkward ends? We also had to hack off those tabs that stuck out on the top and bottom of the door. They just looked goofy with alternating tongues sticking up. Like a picket fence. (Not the look we were trying for.) Buh-bye!
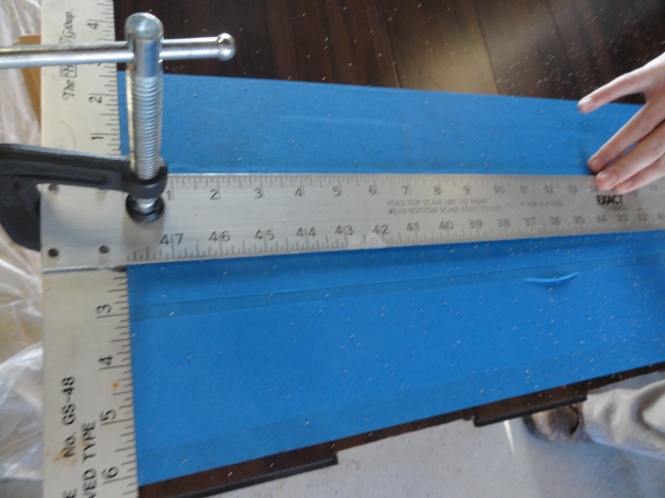
They taped it up with painters tape to prevent any splitting.
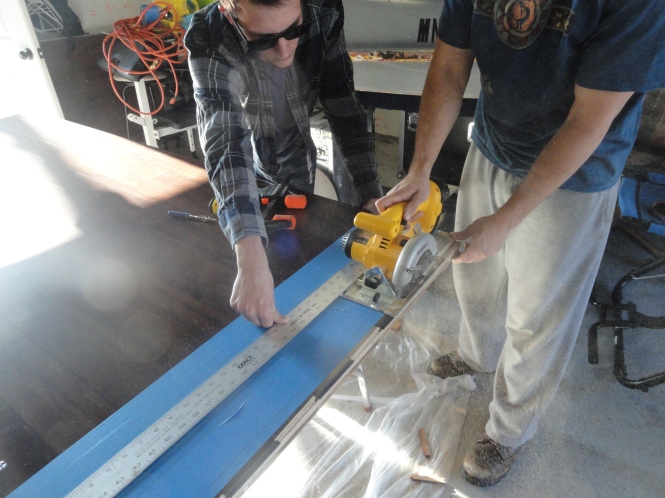
Wow, we found out how tough bamboo is! It’s a powerful plant and even more sturdy once treated and pressed together as floorboard!
Which side do you like best?
The dark Tigerwood or the Honey bamboo? Can’t wait to get the rest of the photos up for you guys! We’ve framed out the doorway, added an inset handle, put up the sliding track, and added trim work. Are you following hockey playoffs like we are? I’d love to see a W on the big screen tonight. Go Wild!
6 comments
The suspense is killing me! Where’s the final pic??
Lora
Hahaha I was wondering who! It’s all coming together. Onto the next project!
Sorry, this is Auntie Kameo. Did not realize I needed to put in my name.
Cannot wait to see the final results. Good job so far.