It’s Tensile Time
No, not tinsel. (Although it’s almost tinsel season too!)TENSILE. That’s my new word of the week. It’s a measurement of how tense or resistant to stretching a thing is.
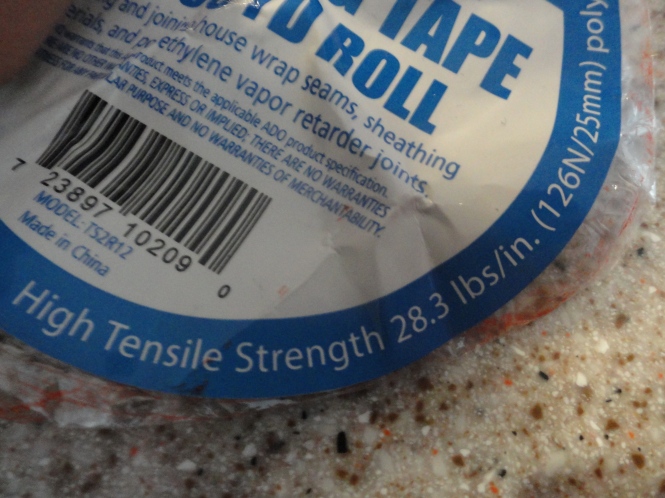
We needed some high-tensile sheathing tape for last weekend’s project. It’s basically really strong tape that can hold a lot of weight before breaking. This particular tape can withstand 28.3 pounds per inch. Pretty impressive for tape! It must have went to the gym. If you want to get all sciency, read more about it.
Why did we need sheathing tape?
Well you remember our little ice dam incident, right? We decided to make this house winter-proof ’cause we didn’t want a repeat of that. Joe’s already insulated his attic to hopefully prevent this from reoccurring. So we moved on to sealing all the windows in the house with plastic. It’s a great way to save heat, and money on your energy bill. It’s cheap, easy and only took the two of us about four hours (for 12 windows or so.)
Disclaimer If you live in Buffalo, NY – this does not prevent snow from breaking your windows.
You Will Need
- Plastic
- High-tensile sheathing tape
- Tape measure
- Scissors
- Bleach or bleach alternative
- Hair dryer
- Rags
- Patience and/or a partner in crime (PIC)
Step One
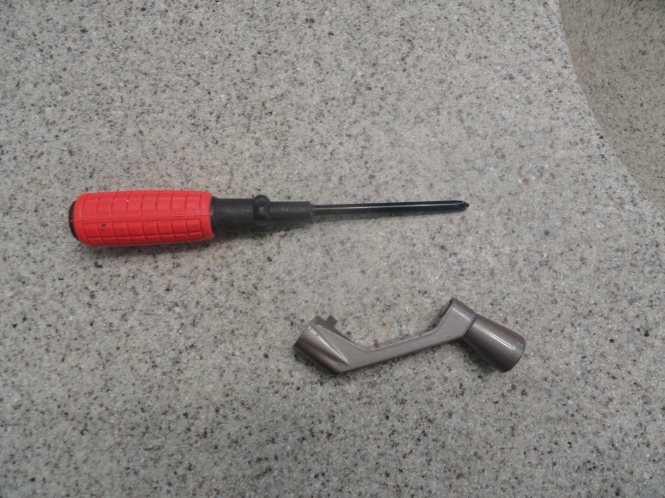
Remove all handles from windows.
Step Two
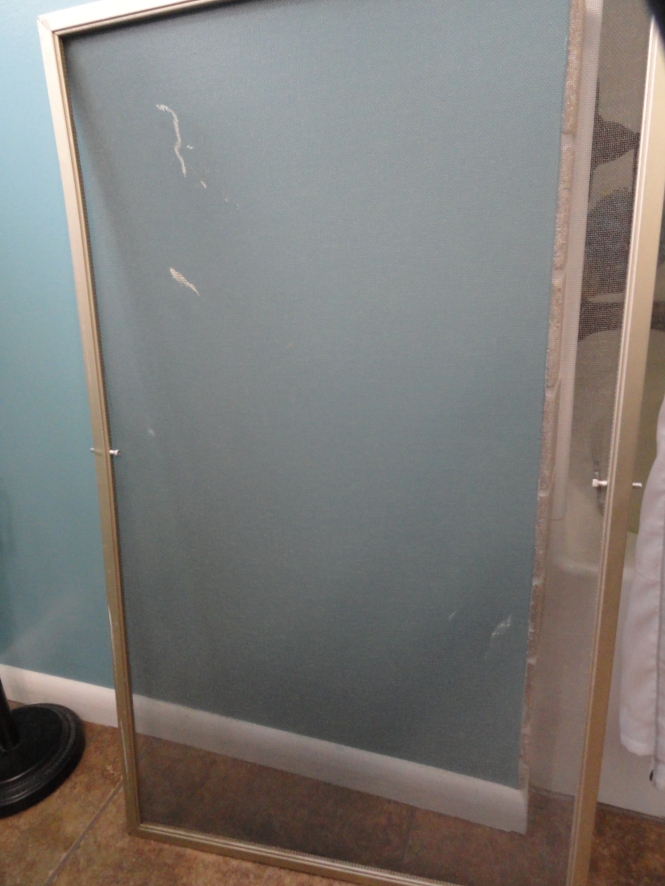
Remove screens (and have a place to store them all winter!)
Step Three
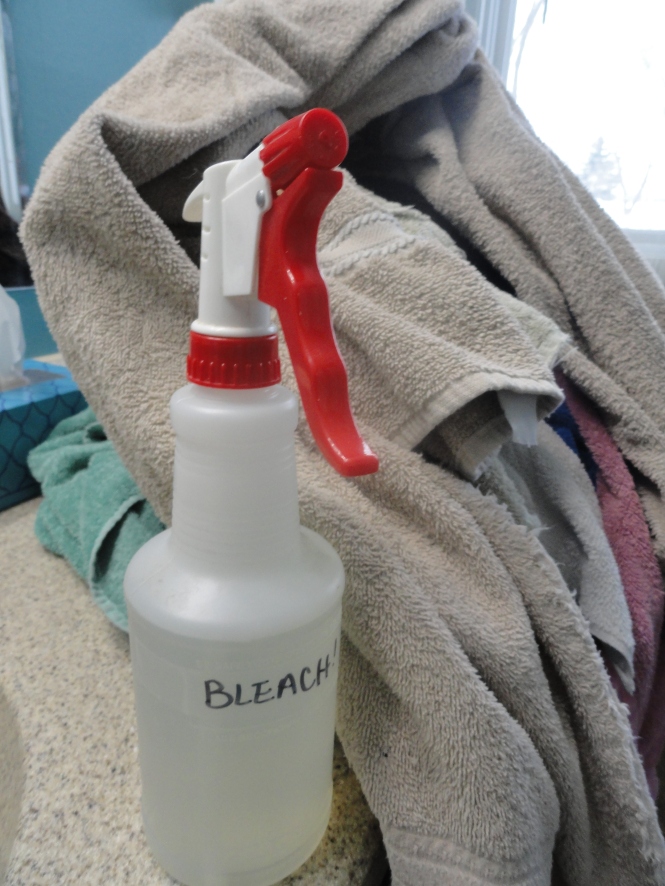
Concoct an anti-mold anti-mildew mixture of some kind and clean your windows. This prevents condensation and moisture from growing fungus and other air pollutants inside the plastic over winter.
Step Four
After spraying and wiping down your windows with bleach, blow dry everything thoroughly. You want to adopt a ZERO moisture policy here.
Step Five
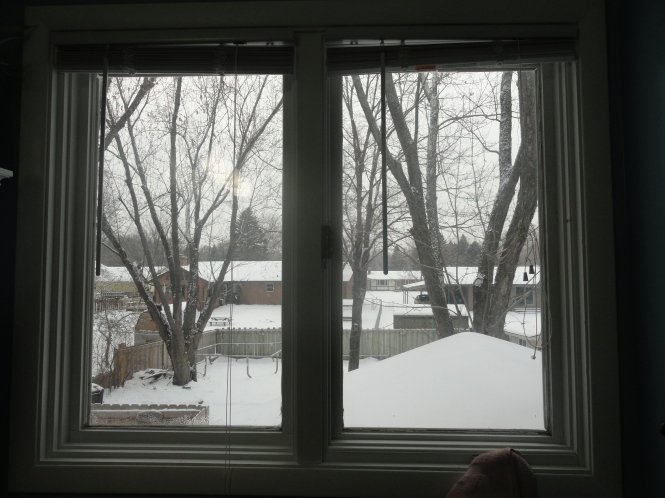
Dust the window frames. The sheathing tape is extremely sticky to some surfaces, but not others. Dust is not one of its favorites. So make sure to wipe the window frames down with a dry rag to remove any dust.
Step Six
Cut your plastic to size. Measure your window and leave about 1/2″ allowance all around. I thought the hair dryer was for shrinking the plastic at first, but alas no. Silly Leah. This is not the shrink wrap type. Those keep your windows transparent and you can usually buy a kit for that process.
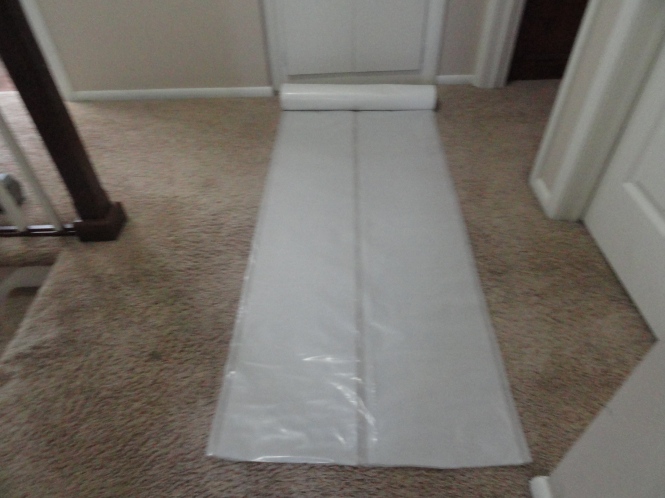
We just went with regular plastic that we already had on hand. It’s not the prettiest, but it definitely does the job. *You won’t be able to access your shades, so leave them up, down, open or closed and be ready to live with that choice for 4+ months. They’re gettin’ sealed up!
Step Seven
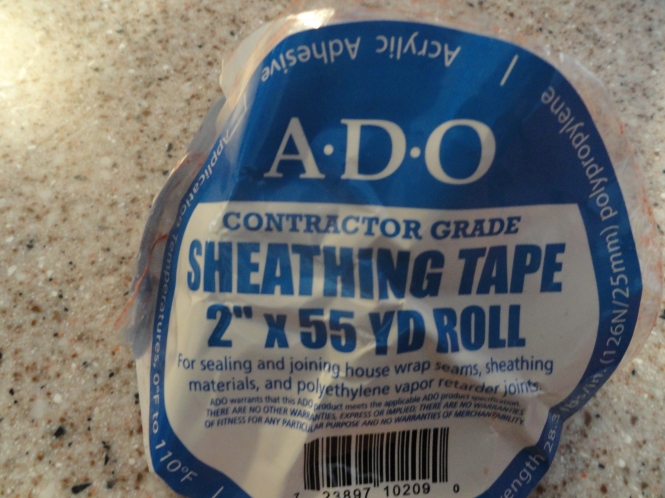
Stick your plastic in place with a couple small pieces of your sheathing tape.
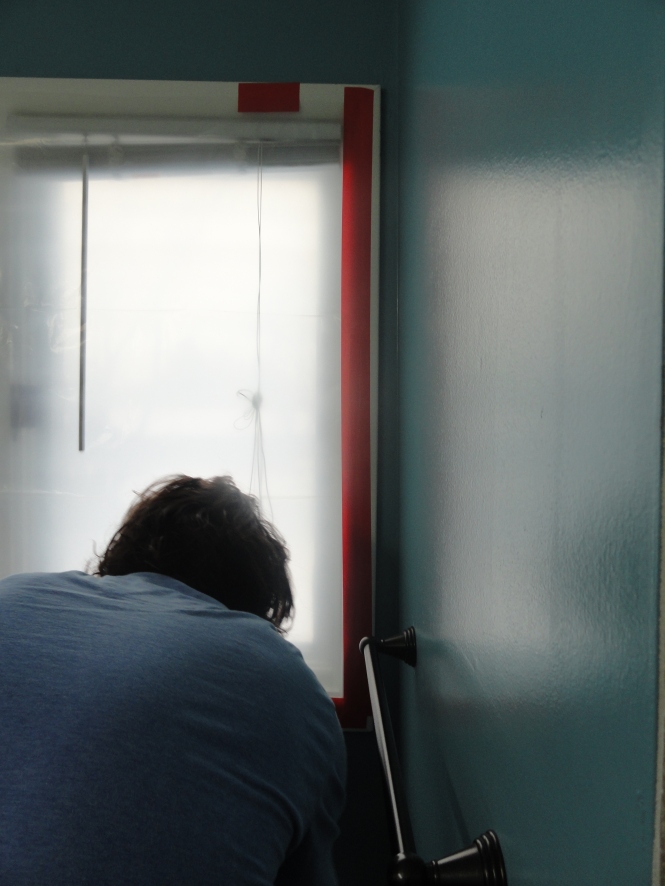
Then go around the perimeter with long strips.
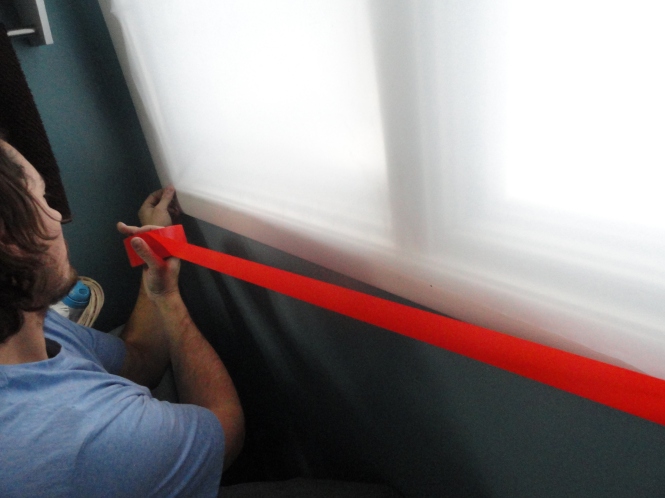
The point in using sheathing tape as opposed to duct tape or painter’s tape is this: Sheathing tape is super sticky to the plastic, but not paint on the window or wall. So no worrying about stripping paint. Also, it seals vapors – humidity and condensation – so you don’t get cold air leaking through it. Oh yeah, and it’s waterproof. We used Tyvek. And they only had red/orange. It kind of looks like a crime scene up in here… White is usually available. Tuck Tape would work too.
Step Eight
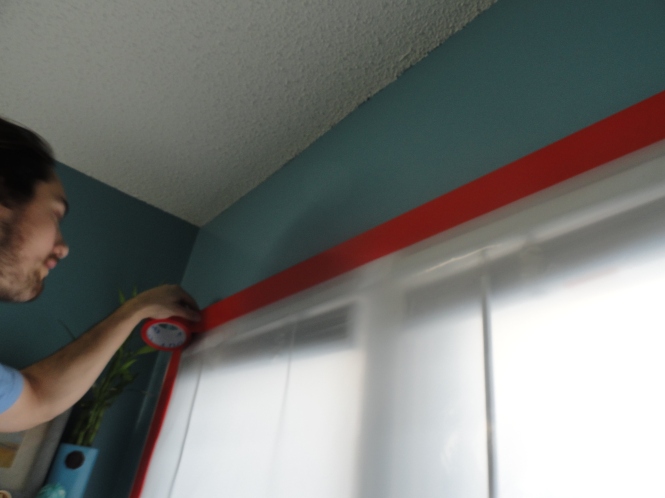
Seal the deal! Press tightly around the whole window to make sure the tape stuck.
Step Nine
Get cozy. Step back and enjoy your work. Time to cuddle up for winter!
This actually took a good chunk of time, but we were hyper-focussed. I did the bleaching and drying while Joe followed me with plastic and tape.
How are you prepping for winter?

As for me, I can’t wait for Annual Friendsgiving this weekend. I’ll be cooking up a storm; don’t worry it does not involve grape salad. #Grapegate2014 Funniest thing I’ve seen all week!
1 comment