
Preparing the Kitchen
The kitchen is about to get rocked, it doesn’t even know. There are some things we need to do before the big demo, such as installing new windows and running electrical. Read more for some of the things we’ve done so far!
So far we have ordered the flooring, appliances (Black Friday sale baby!), and some wood for ceiling paneling.
We also got professional drawings. If you missed all the big plans in our last post, we have some really fun renderings and blueprints drawn up. In fact, we’ve made a couple changes already.
New Windows

Old 
New


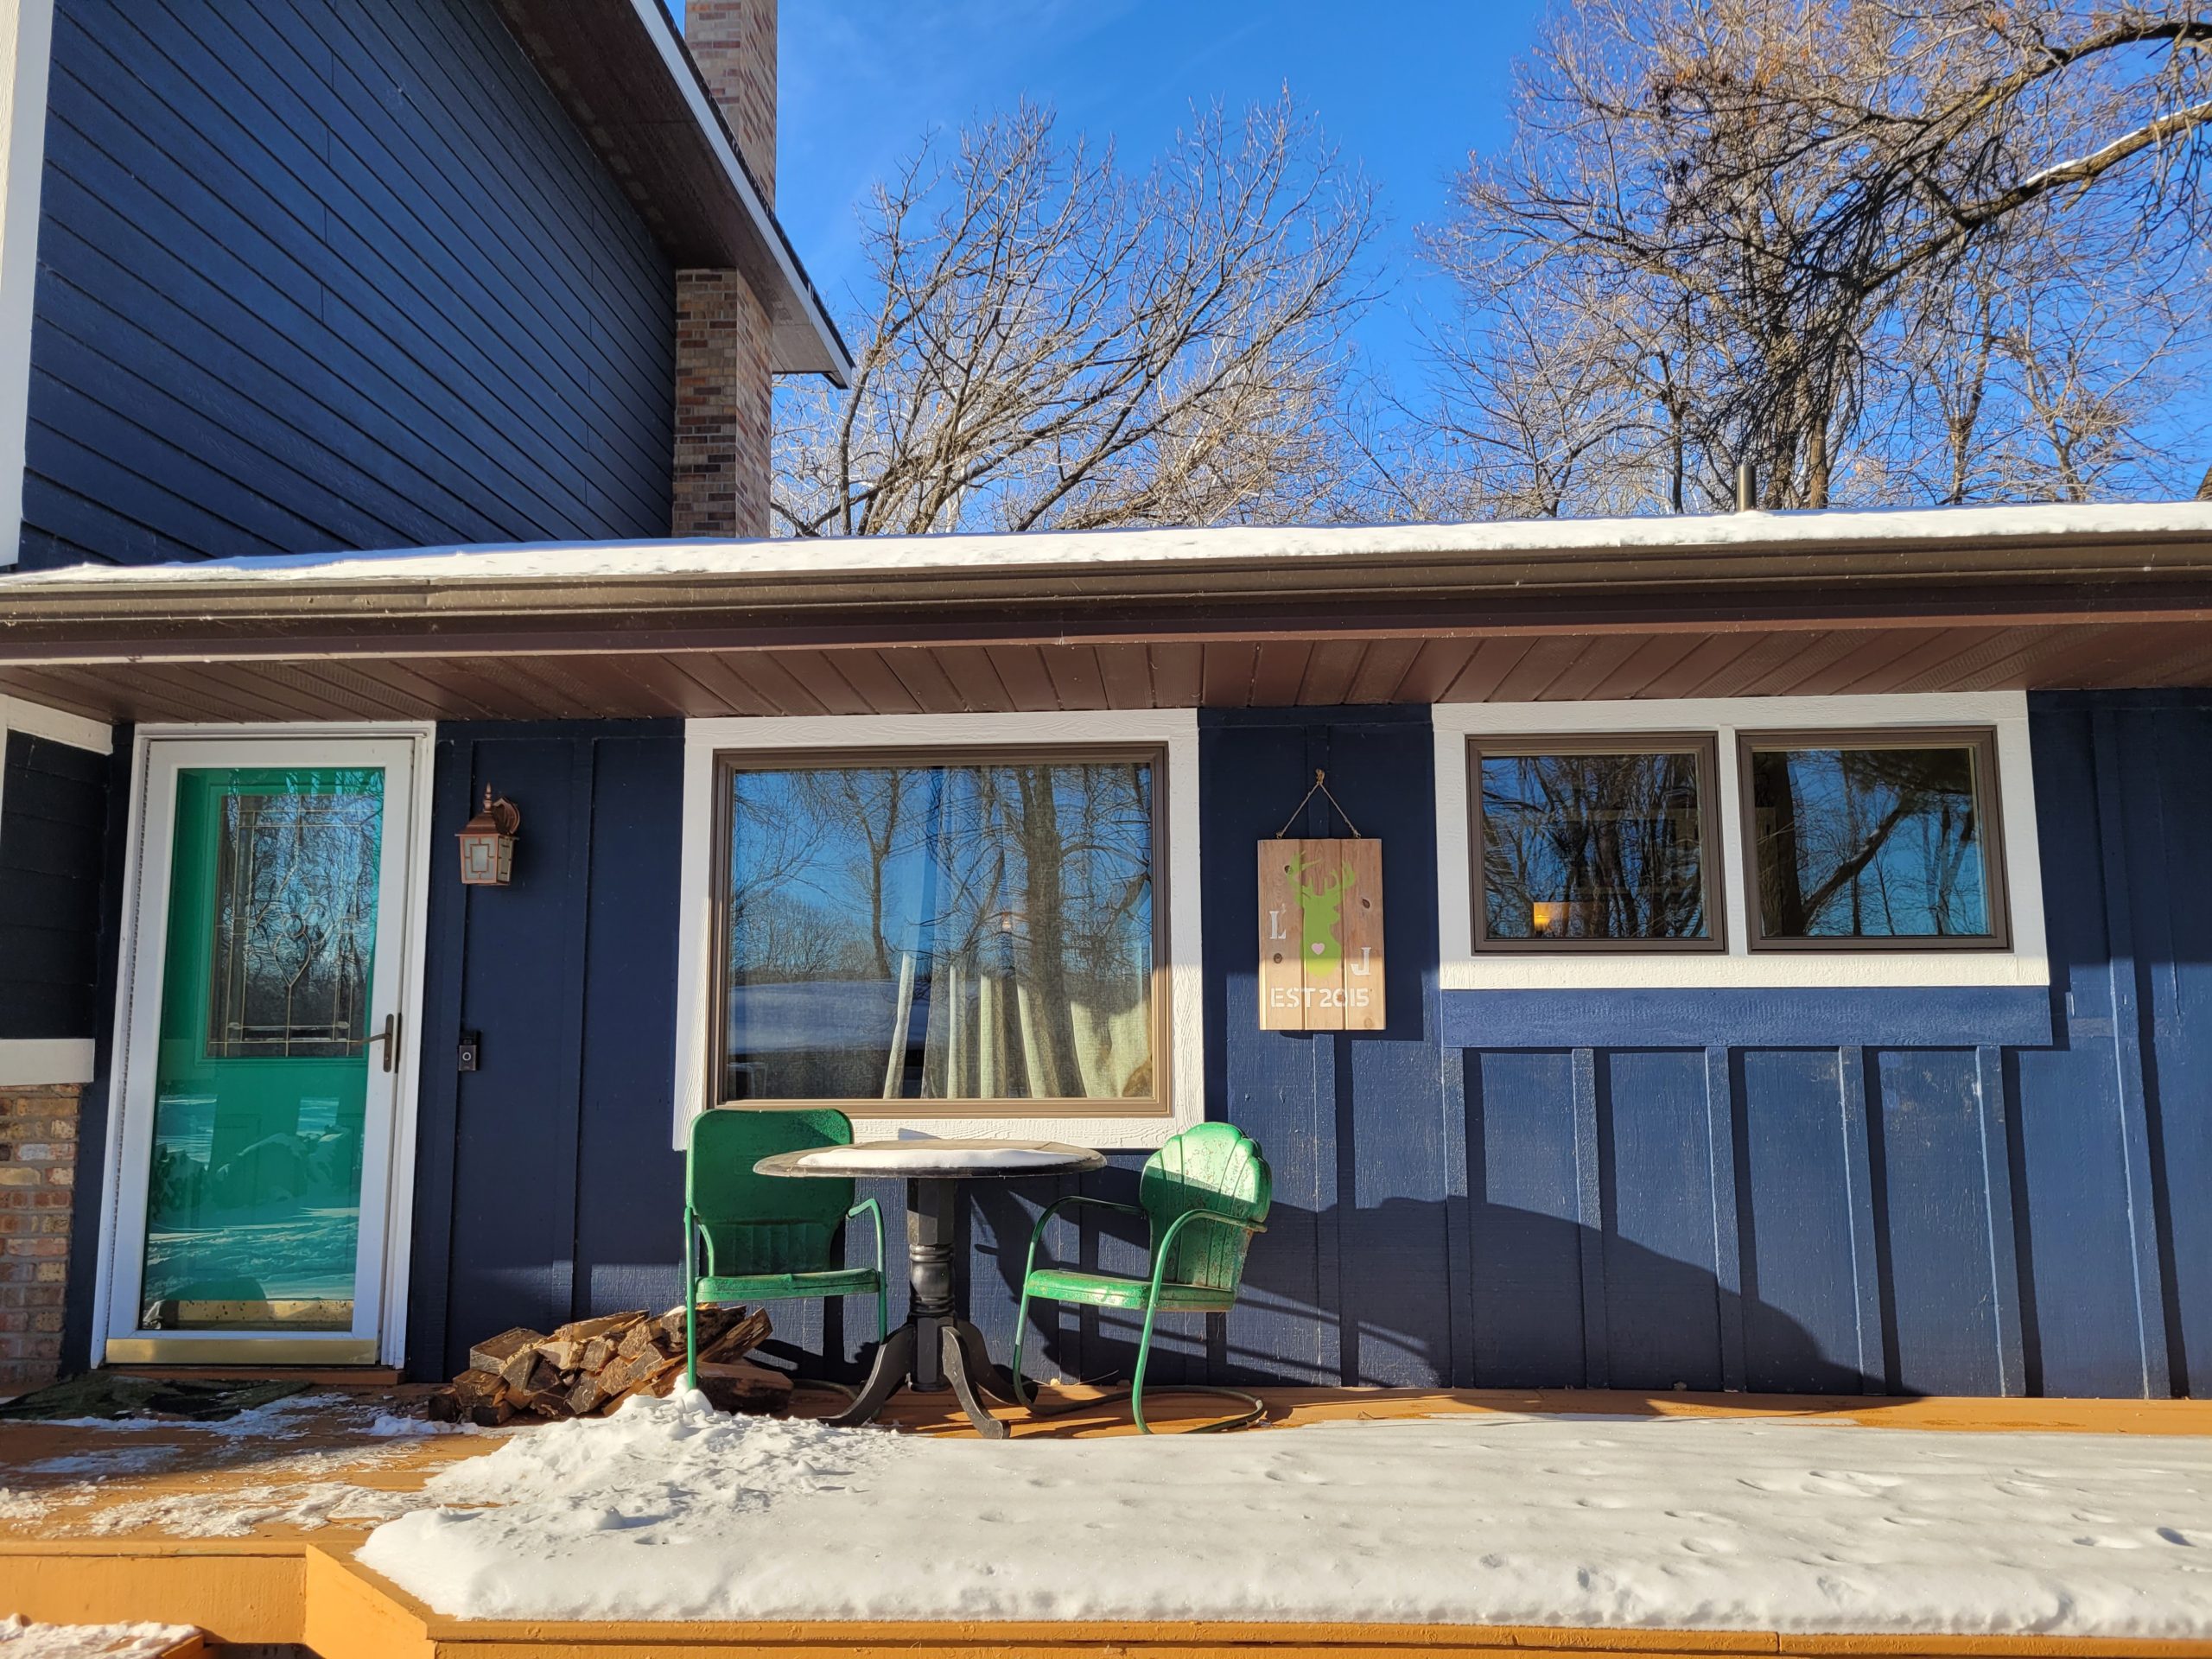
We replaced both these windows (they were SO bad – single pane)

This window was the same size, so no major change here.

New picture window instead of slider. We needed to get it done before it got too cold outside.

This window on the other hand, was a totally different shape and size, so we had to cut a new rough opening and everything.

We first needed to empty this cupboard and take it down, and tear out all the tile backsplash.
It feels like just yesterday we put this up, we knew it was going to be temporary so we bought the cheapest subway tile we could find at the time.

I’m not going to detail how to install windows, sorry. Joe just knows these things and I’m sure he’d tell you, but I’m not going to try. I helped and let him boss me around.

Step one: Take old this old bugger and the siding where the new one goes.
The roof soffit came hanging down when we took the siding off, so we had to nail it back up.
Our old siding is just cedar board and batten with this particle board backer, so it wasn’t hard to cut a new hole with the sawzall.

Then we needed to put a new header above the new window. Windows I should say. I think we used a 2×6 for this.

Voila. That’s where we’re at currently, plus some spray foam around the cracks.

Originally we planned to center the new sink under the window on the left, but now we may move it to the right. The cabinet guy has some ideas for us so the plans might be changing once again. Living in chaos for now.
Here is the after photo. It brings so much more light in! We wanted crank-out casement windows above the sink so we can get a breeze on nice days. To patch the siding up, we reused some pieces and painted everything to match, then trimmed it. We decided to add that horizontal board underneath because I will have a flower planter box there. Also, the old window came down lower, so that saved us from having to replace that whole part of siding!
Pantry
The second change we made was pretty minor. We initially wanted to put our microwave and other appliances in this “appliance garage”, but our oven has a convection oven/microwave built-in, so we are changing that to all pantry storage.

Old 
New


Shoe Shelf
Here are a couple other things we’ve started on.

The shoe shelf. Joe had this idea a long time ago to use our under the stairs crawl space area for shoe storage.

It’s not even done and we’ve been using it so much! We should have done this years ago.
Electrical

In order to support all the new outlets and lights, we had to upgrade our electrical panel. Not the most fun thing to spend money on, but it needed to be done.
Design
Ok I did one desigy thing. I updated one of our favorite pieces of art for the new kitchen look. I stripped the frame with Citristrip and it worked so well! This is the natural wood color that was underneath.

Before 
After


Up Next
In the meantime, I’m painting and sealing all our ceiling planks. I will dedicate a whole post about that once we get to the install. Here’s a sneak peek of what’s next. Any guesses?

-Leah & Joe