Bags or Cornhole?
That will be the great debate of our generation. Does it depend on where you were raised? Whether you grew up around more corn or more beans? Is it a midwest farmer thing? I’m not quite sure…
But it has crept into the cities and city slickers pay big bucks for these lawn game sets. Luckily it’s not hard to make your own set! You just need a couple 2×4’s, some paint, screws and plywood. Joe, my brother and I made a set for my parents’ birthdays. Since they always want to play, but never had the game.
Resources
There are some great resources to build your own set:
I took a combination of a couple of these and used an existing set as a model.
Supplies
Materials:
One 6’ x 2’ piece of ¾” ply-wood (I used two pre-cut 3’x2′ pieces)
One 2′ x 4′
Two simple cabinet hinges for the legs, 2 ½” wide (Screws included) (I used wing nuts instead)
Four 2 ¼” nails
Paint and Stain (both optional)
Equipment:
Tape measure
Pencil
String
Scissors
Circular Saw
Jigsaw
Power drill with at least 3/8” bit, and Phillips head driver
Sandpaper
Measuring
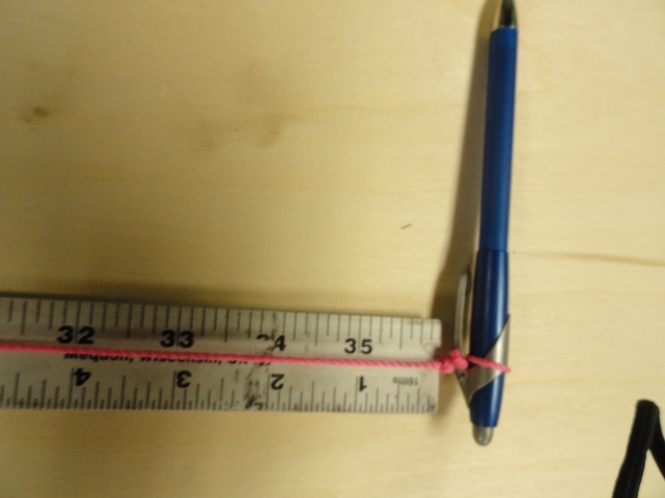
Mark off a 3″ radius all around the center.
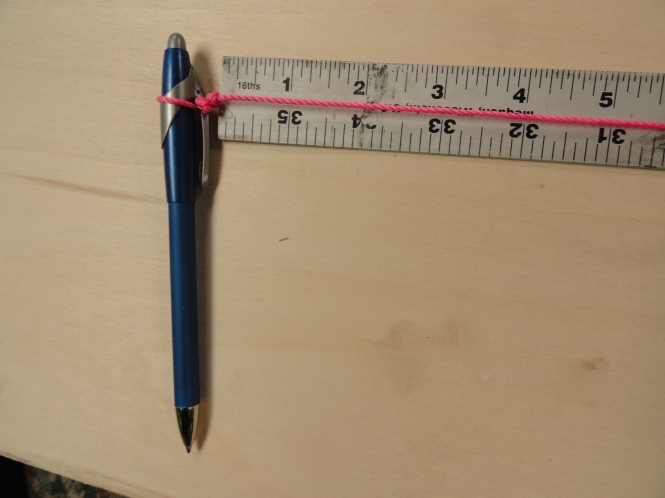
A drafting compass would be the best solution, but if you need to rig something up there are a few methods.
Method #1 — The Leah method
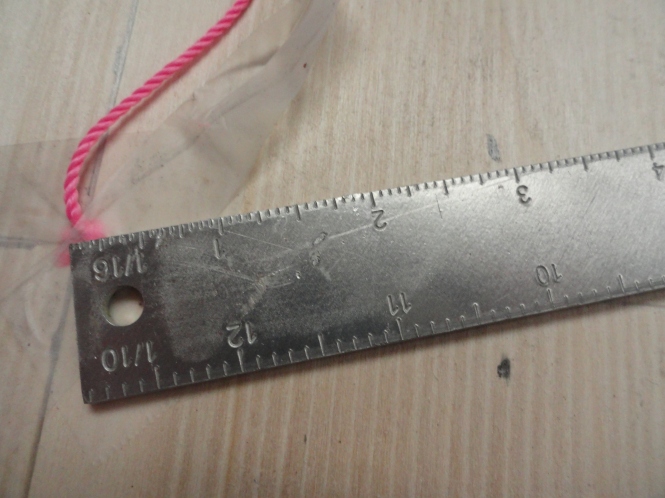
One way involves taping a string to the center of your crosshairs.
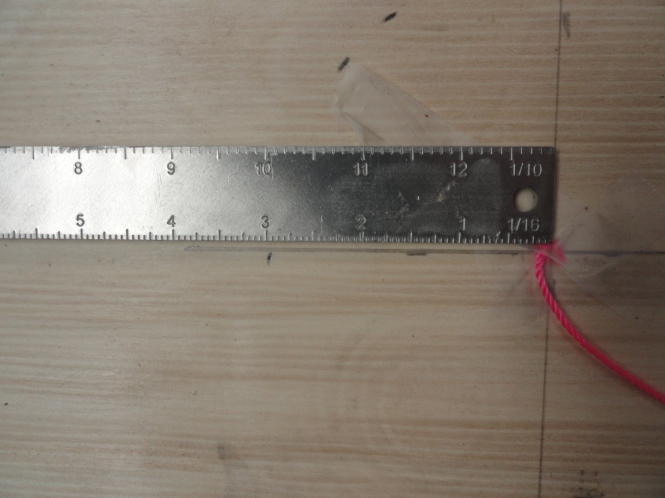
And attaching a pen to the other end. Mark 3″ from the center all the way around.
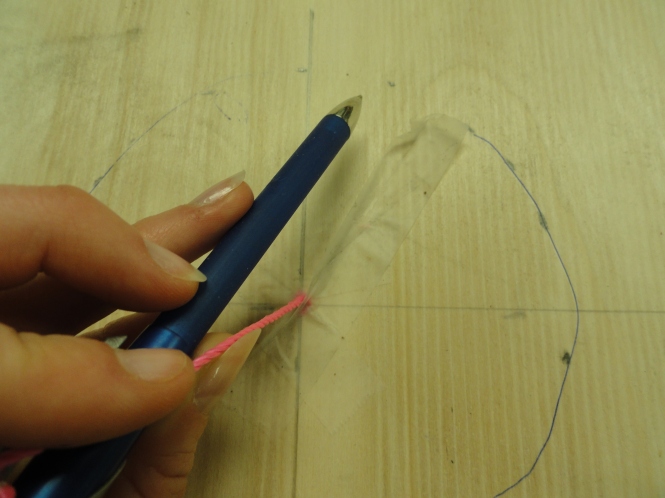
Then follow the markings with your pen to create your circle.
Method #2 — The Joe Method
For the second board, Joe rigged up this “compass” with a pliers.
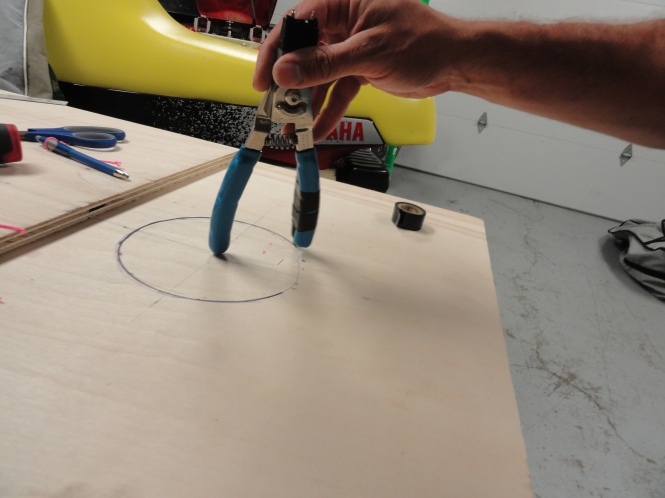
He taped a marker to one handle and taped the nose so it wouldn’t move.
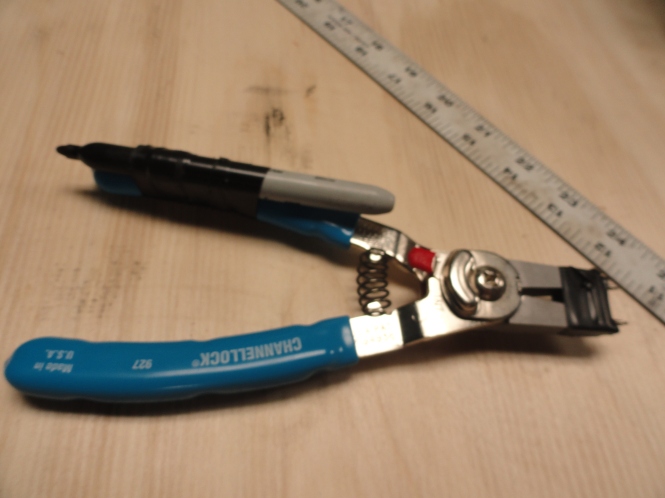
Pretty clever. Create a circle by holding the free handle in the center of the crosshairs while turning the marker around the point. I’d say this method wins.
Method #3
Option three would be to trace a bowl that is 6″ in circumference. As long as both boards end up with the same sized hole. 6″ is the recommendation.
Cutting
Now that you’ve measured the holes, time to drill!
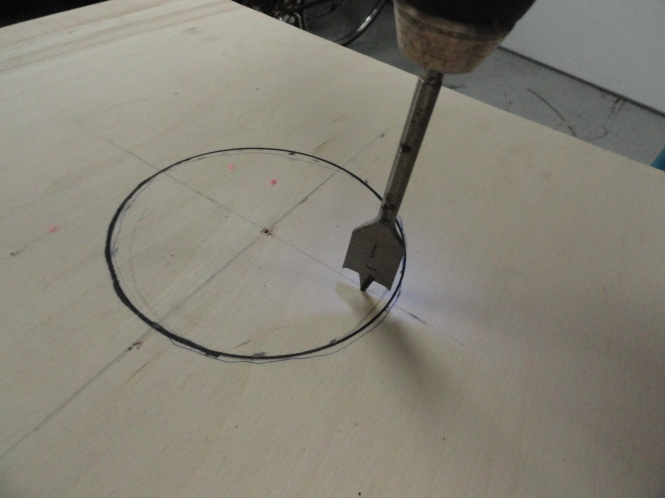
We used this drill to make room for the jigsaw to do the work.
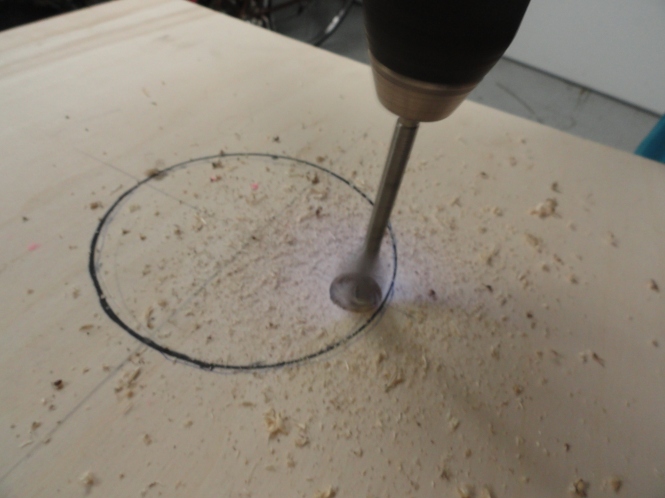
Then you’ll have a place to start.
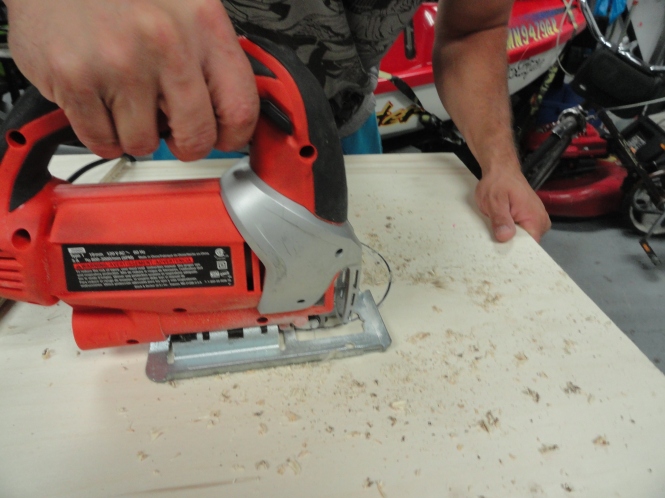
Freehand the circle.
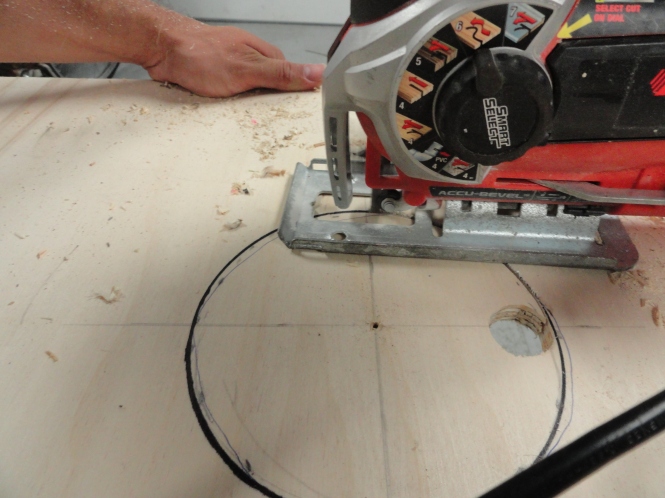
Very carefully
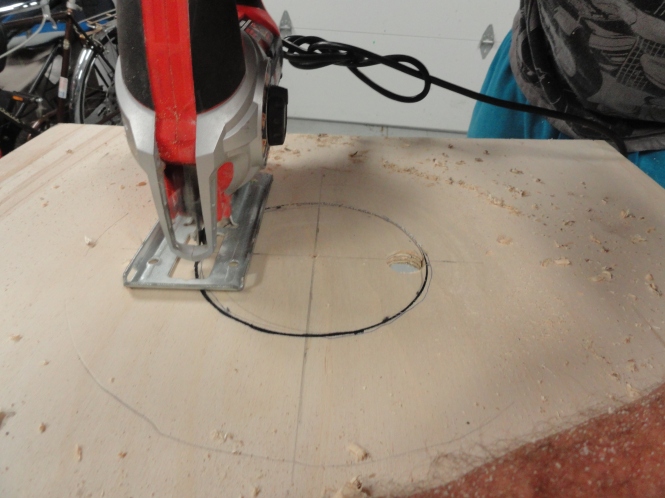
It’s important to constantly turn the blade in order to follow this small circle.
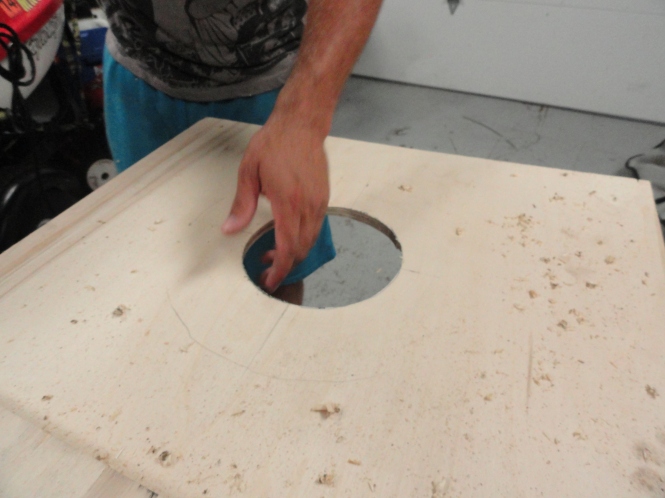
Once cut, I sanded the circles’ rims and also along all the edges of the boards.
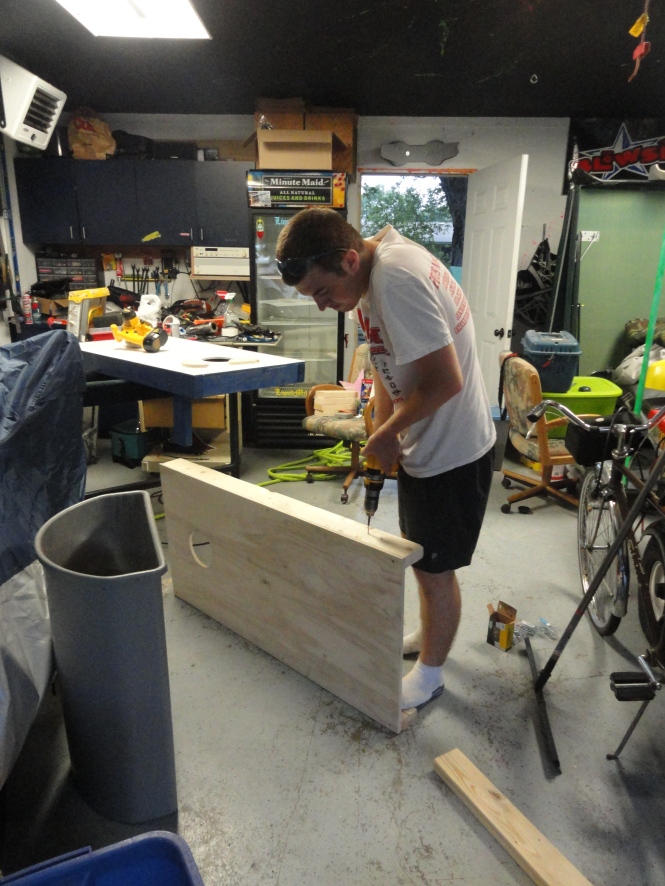
Then I got Lucas to helpcut the 2×4’s.
Note: You’ll need four 2x4s cut into a total of 18 pieces. (Each board should have 2 legs, 3 supporting beams and 4 pieces around the edges for the frame.)
Once he cut them all, we could screw the skeleton together.
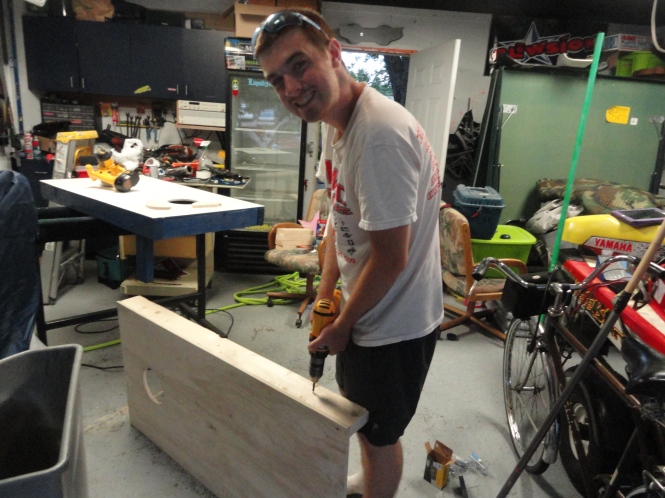
Smile!

Here’s what the bottom of each board should look like.
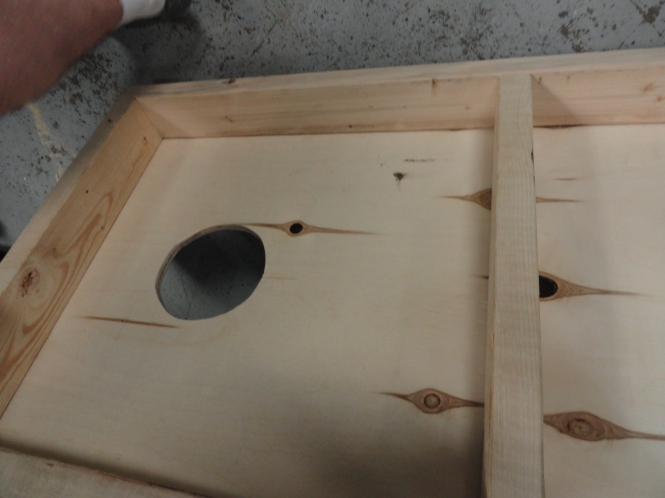
Easy enough, right? Just make sure you face the “good” side up. The side with fewer knots.
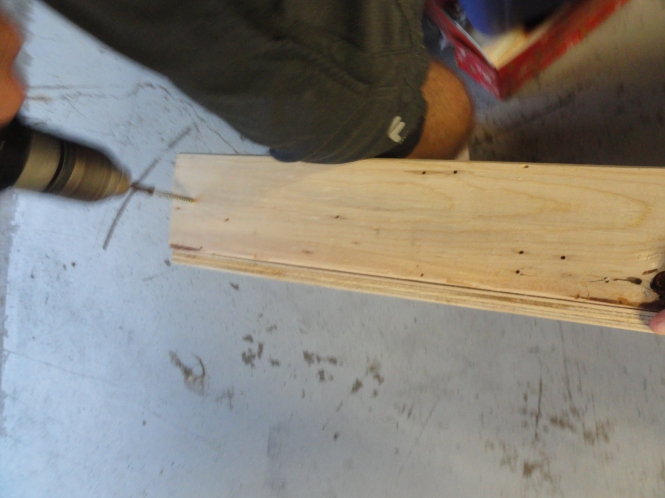
We put a ton of screws into the sides to prevent future warping.
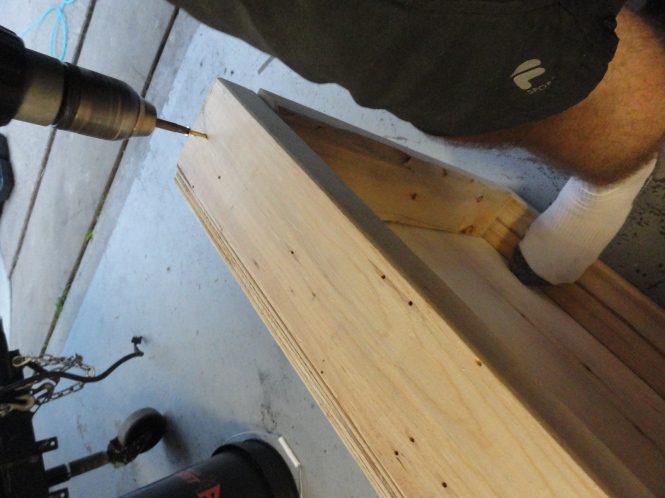
Be sure to paint everything to prevent rotting too!
Painting
The fun part!
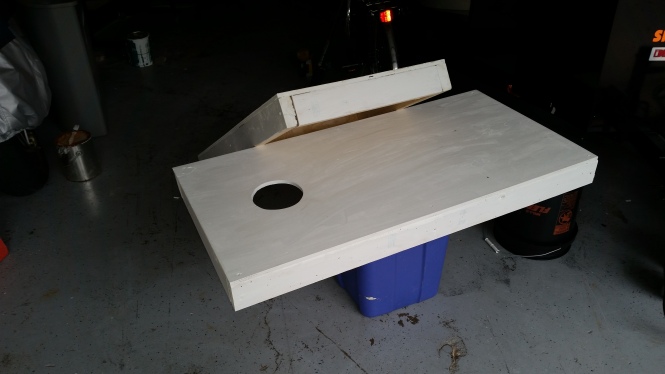
After we’d assembled the boards, I painted them a white base coat.
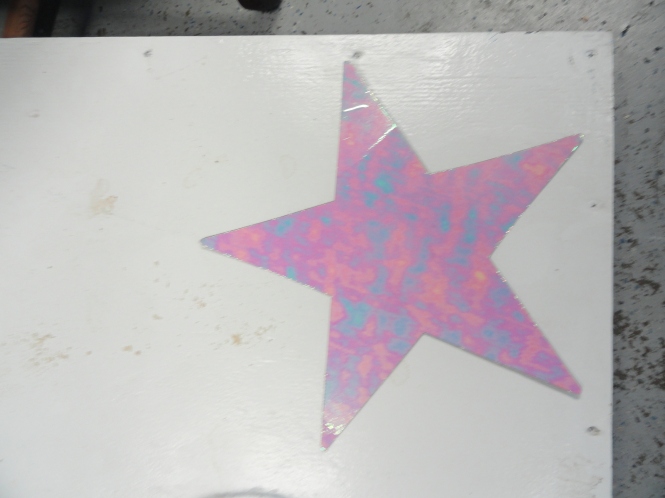
Then I stencils one board with stars,
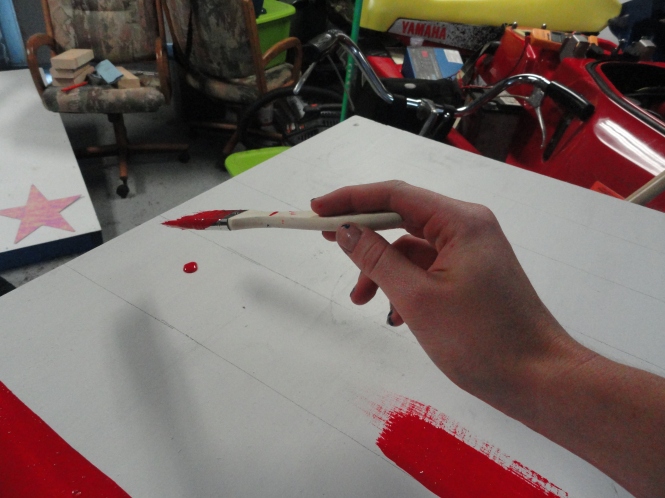
the other with stripes.
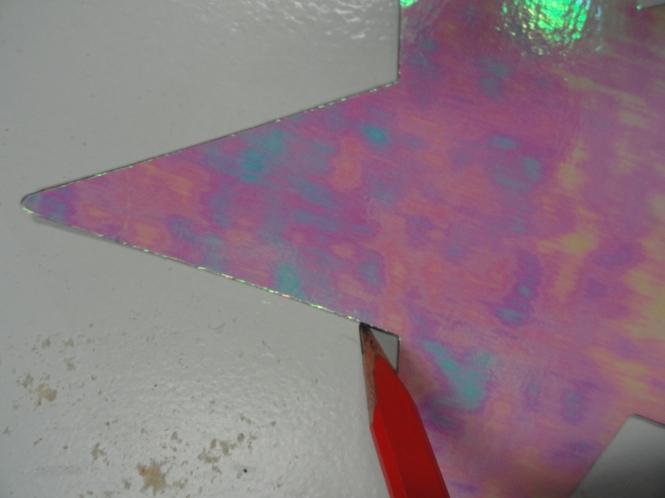
The stars were definitely more tricky to stencil and paint.
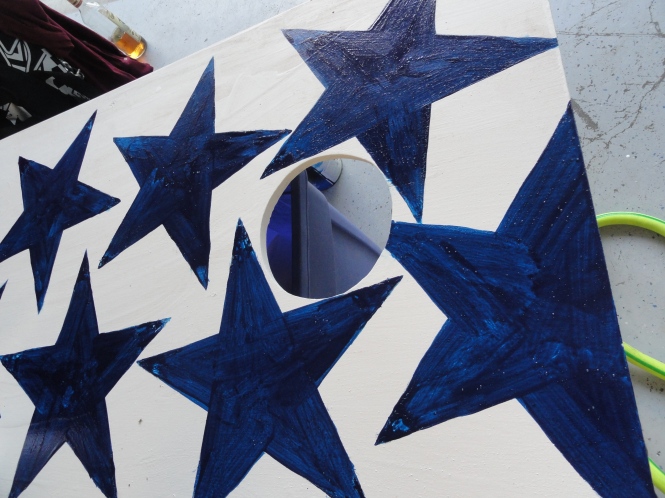
I went freestyle, but painter’s tape wouldn’t be a bad idea.
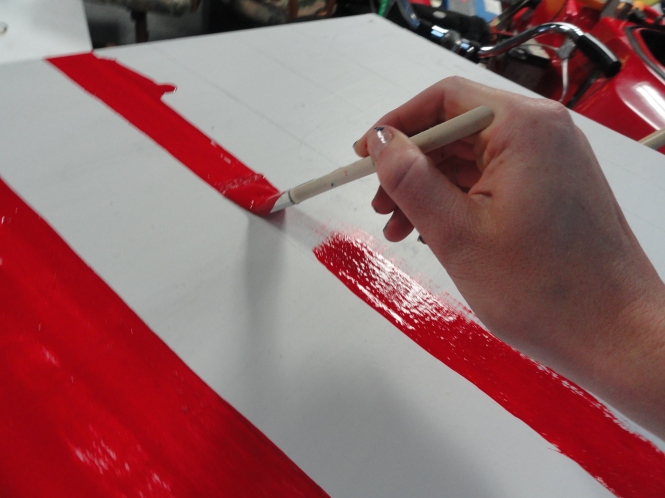
The stripes? Not so difficult.
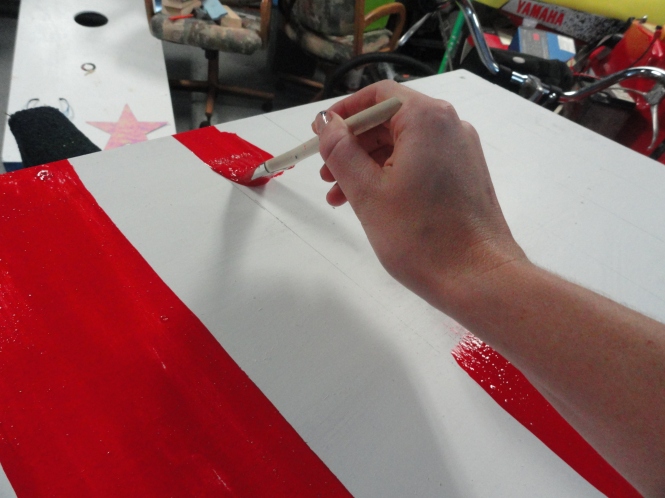
I just chose this for July, but pick any pattern or emblem you like!
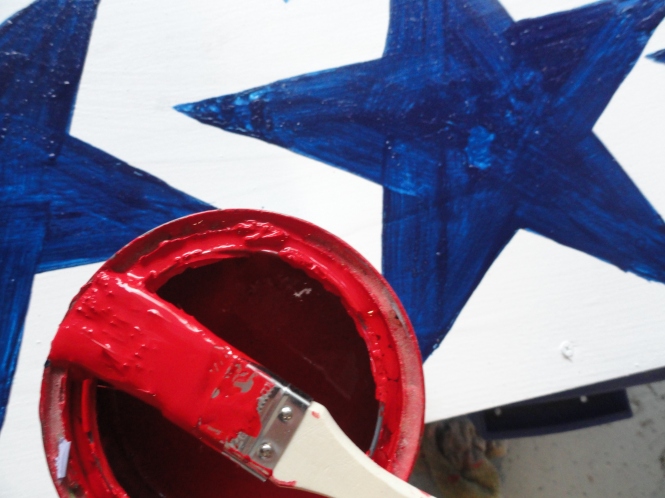
And be sure to use outdoor paint for everything!
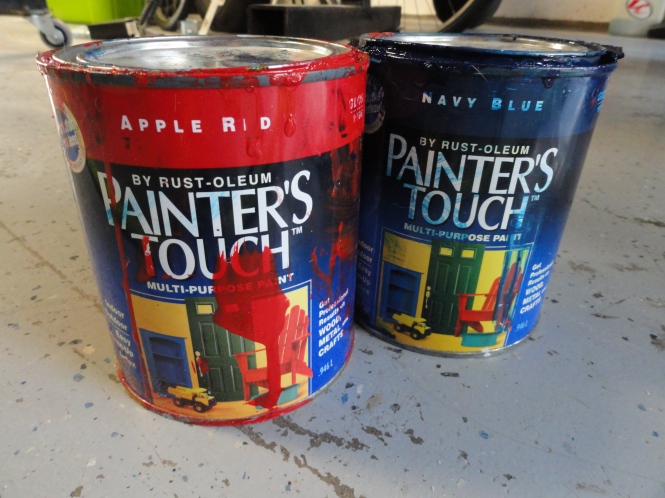
This stuff worked ok for me. It may take several coats.
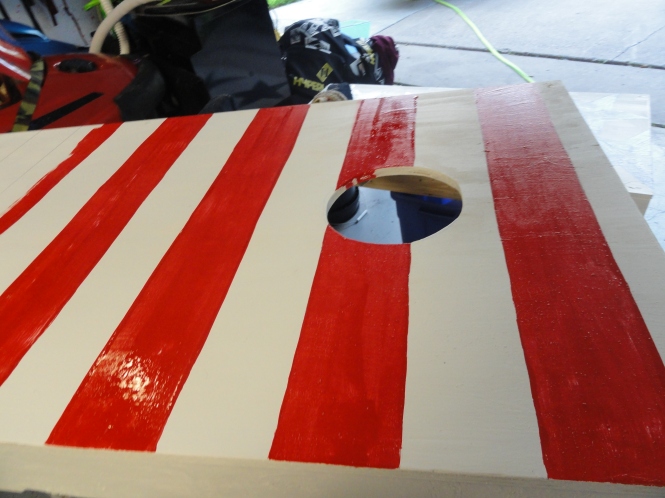
Once it’s all dry, you’ll need to apply a gloss topcoat.
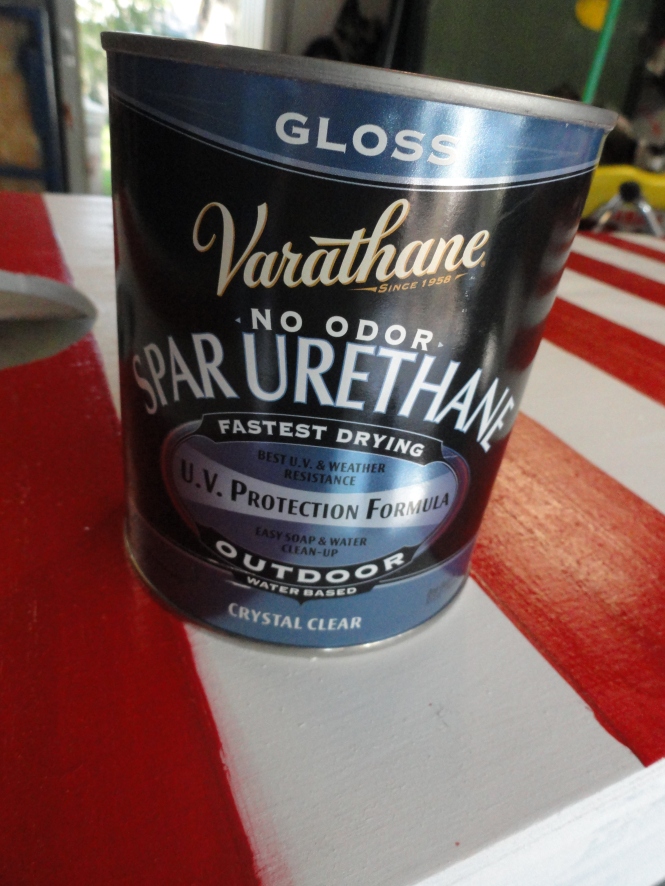
This is important so the bean bags can slide across the top easily!
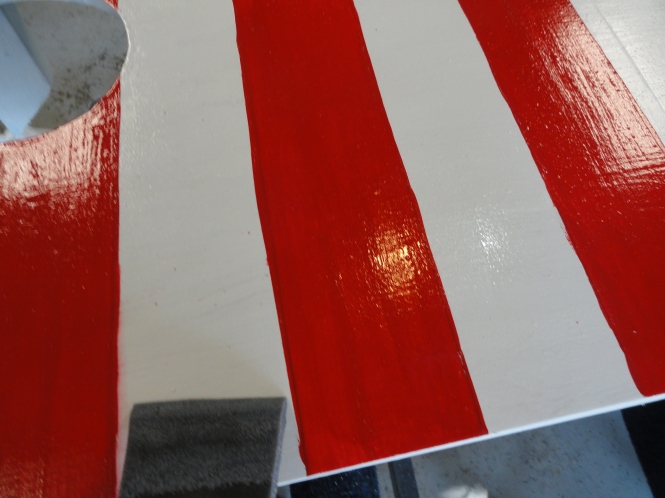
I’d recommend spreading a thin coat with a sponge brush.
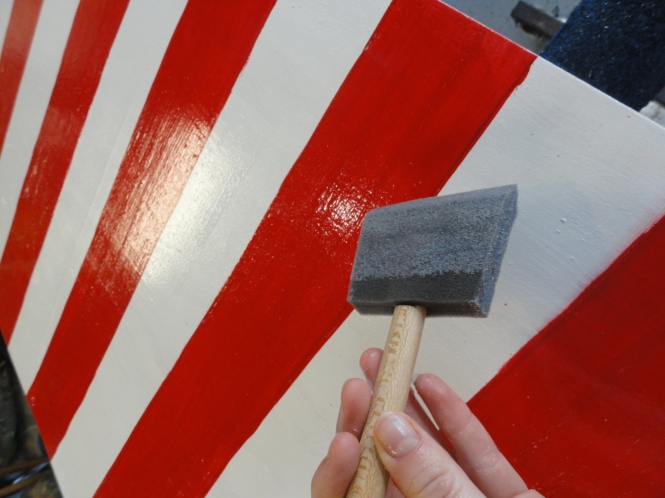
And adding one to two coats more after the first dries!
Legs
What’s a bag toss game without legs?
Luke had already cut the legs, I just needed Joe’s help faceting them onto the boards.
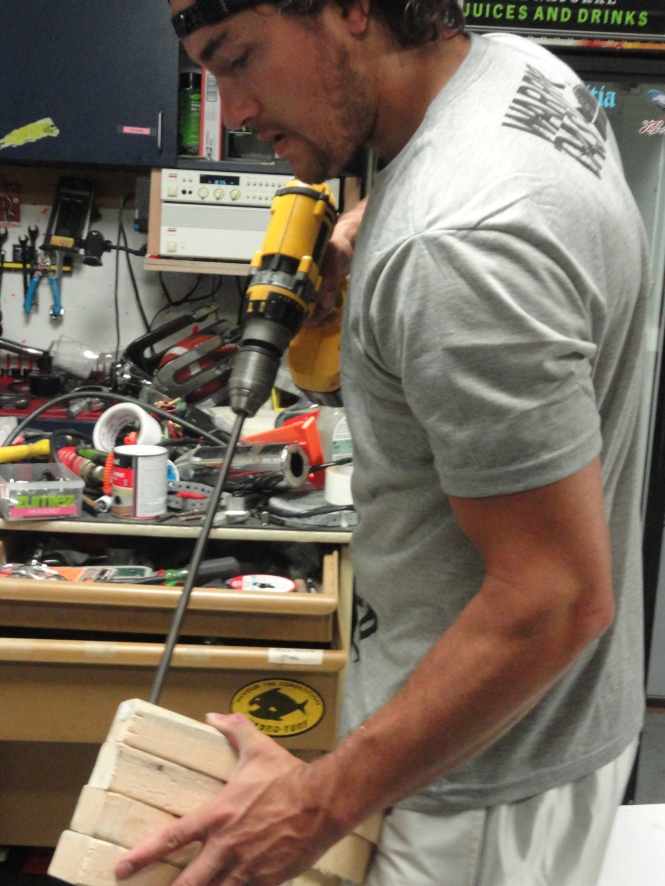
So what does he do?
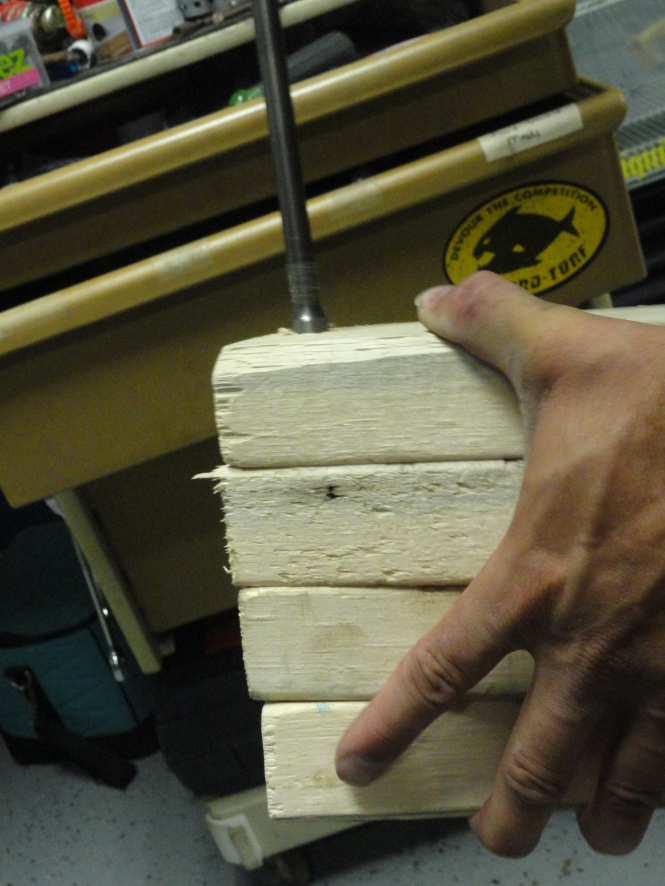
Drills all the holes at once. What a multitasker.
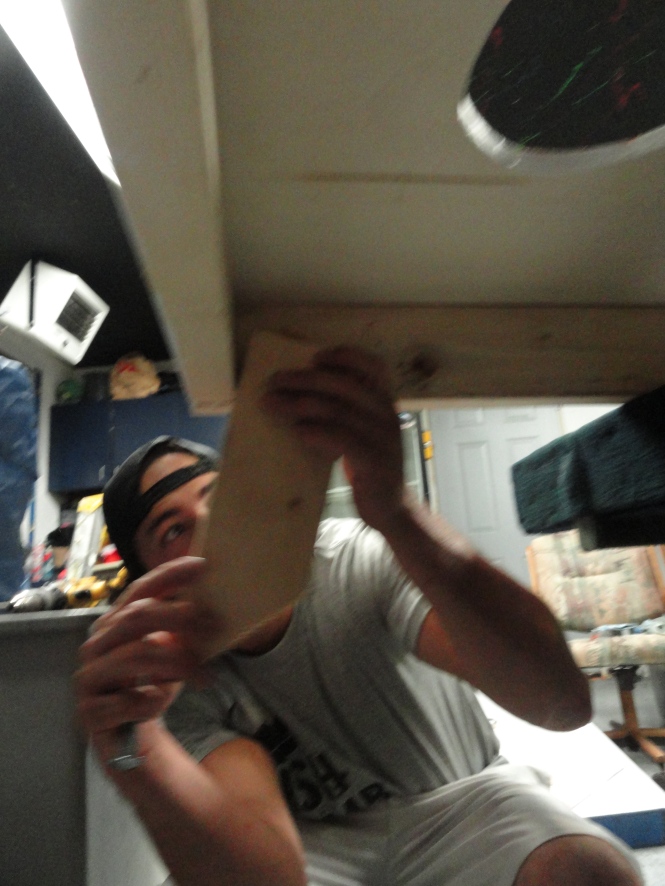
He also cut the legs at 45 degree angles.
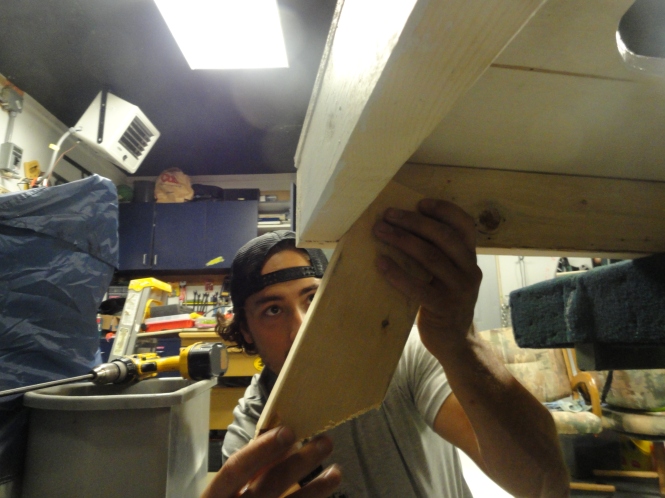
Then he affixed the legs, one at a time.
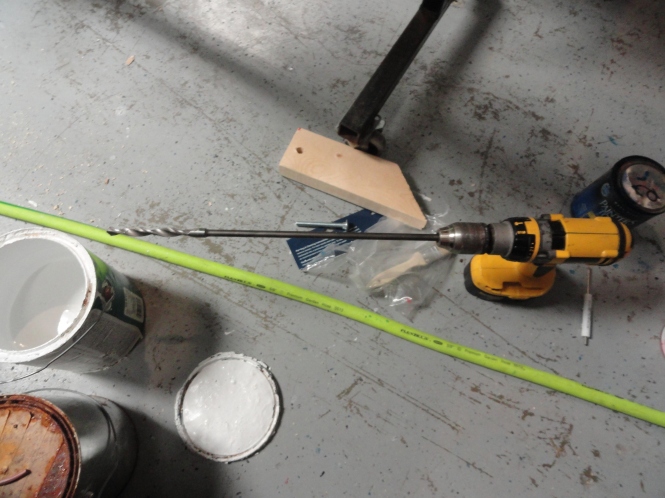
This tool again. Drilled holes in the “shoulders” of the legs.
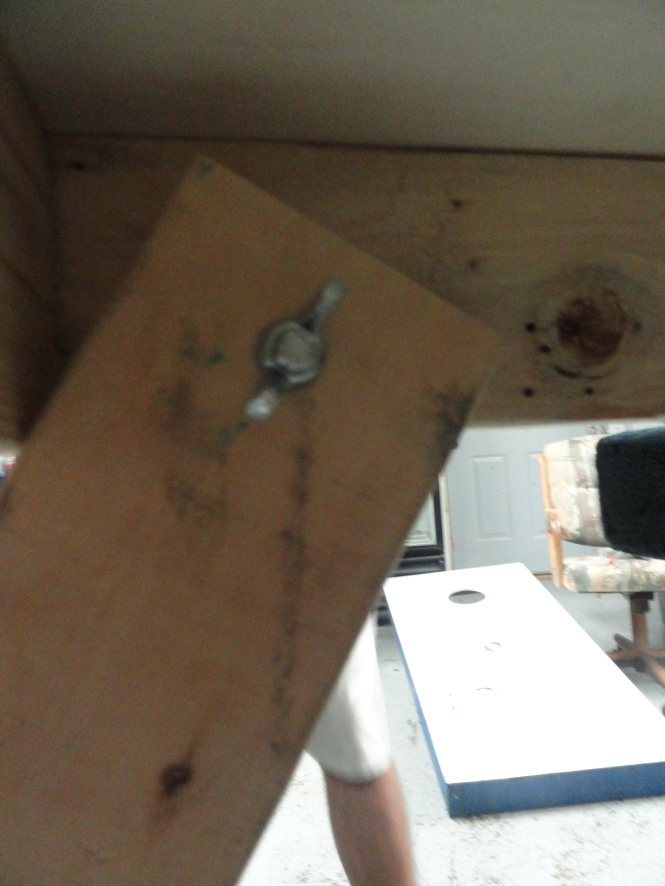
Here’s where the wing nuts and bolts come into play.
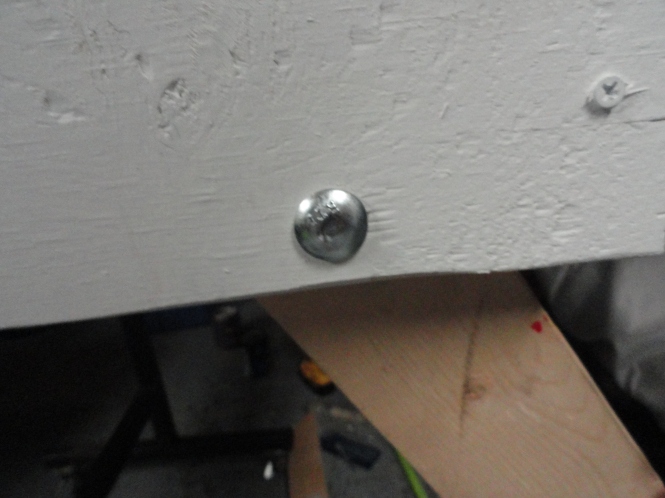
The legs are forced to stop at the back edge. And they fold in nicely for storage!
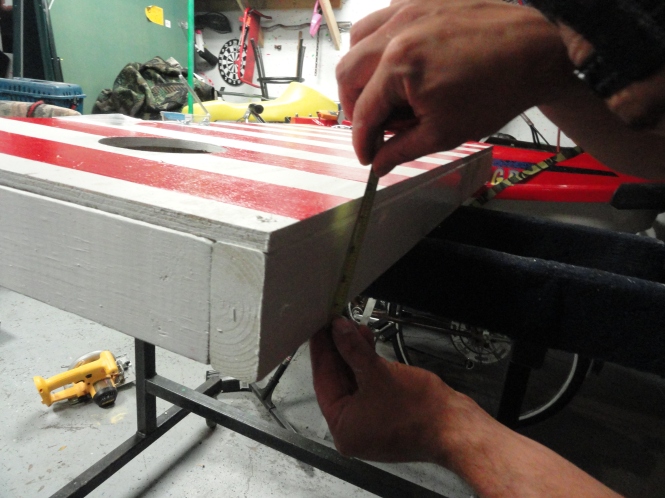
Pro Joe Tip: Measure each side to make sure you’re drilling the holes in the same spot!
Game Time
Around here (suburbs of Minnesota) we call it bag toss. I’m not here to debate it, just to build it. I’ll never know what to call Polish golf/goofy golf/trailer park golf/ladder golf now that I think about it. But I guess we can settle that debate another time.
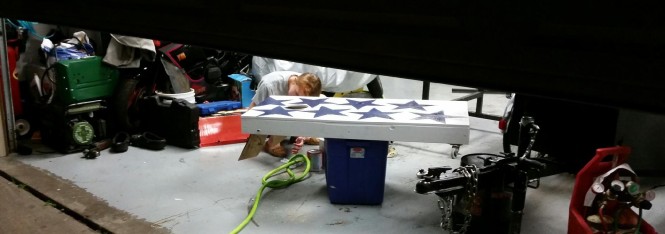
Many mosquito bites ensued.
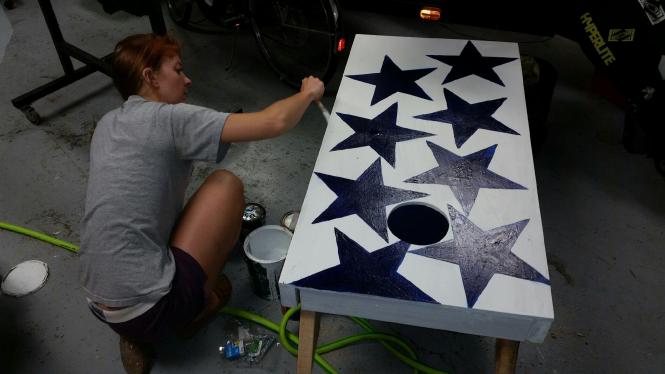
It was a hard battle won, but definitely worth the time and effort. And about 1/3rd of the cost I’ve seen them sold. And then of course you can sew your own bean bags, or purchase them at a sporting goods store.
If you have a little time, I’d hands down make this game rather than buy it. This way you can give it a custom paint job and really get the family rivalry going! I guess you know you’re midwestern when you get excited about this. How midwestern are you? Take the quiz and let us know in the comments back here!
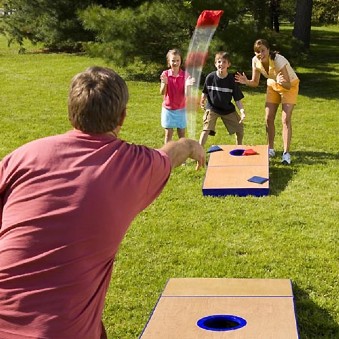
I failed to take a picture of us all happily playing bean bags, so instead please enjoy this fine family:
3 comments
Awesome! When are their birthdays?
Both in August