Popcorn vs Knockdown
Are you like Joe and hate popcorn ceiling with a passion? It never bothered me much, until I realized how many alternatives are out there! Joe has always wanted to try doing a knockdown ceiling treatment, so we decided to pick a sample room and try our hand. Since Steve’s bathroom is basically unoccupied now, we figured it was the perfect small space for a test run!
The Supplies
You’ll need to buy a few things before attempting this yourself.
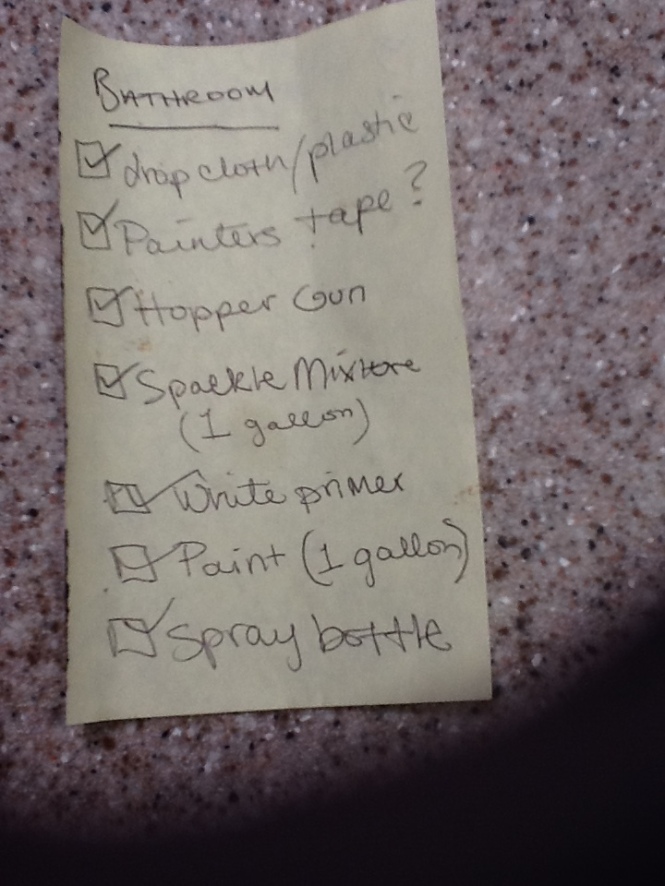
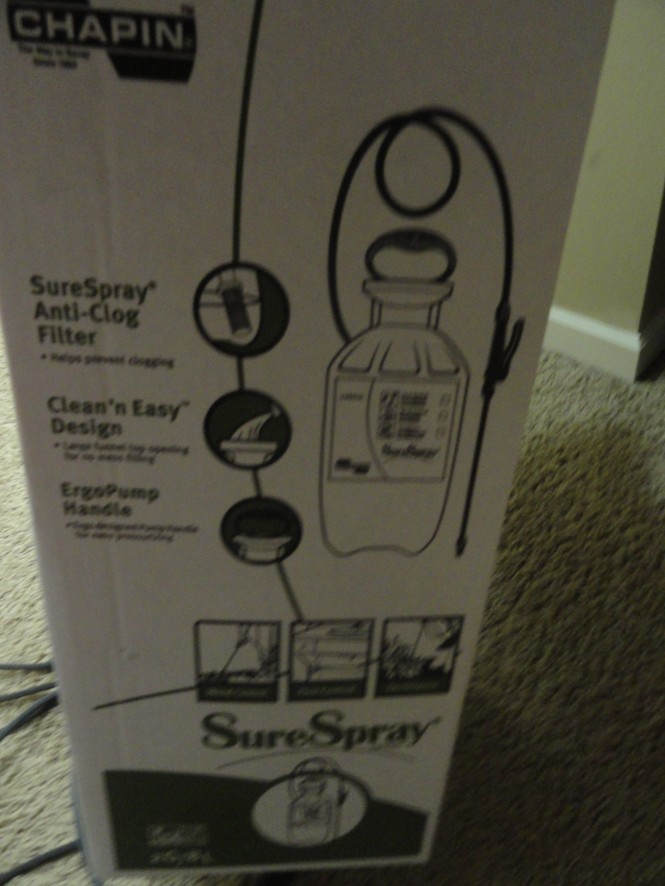
Industrial Spray Bottle
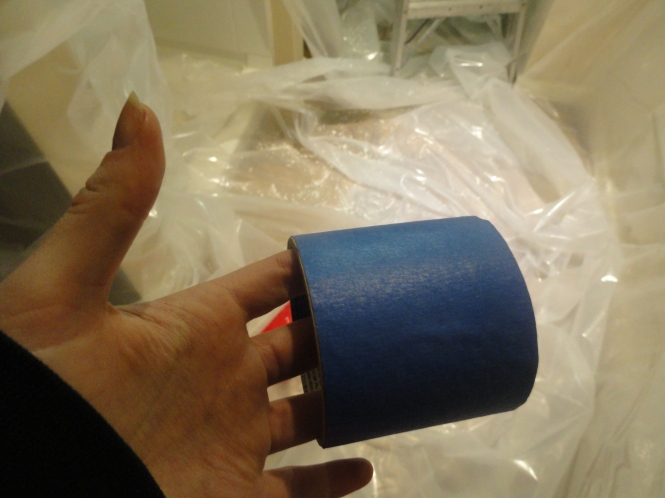
Painter’s Tape
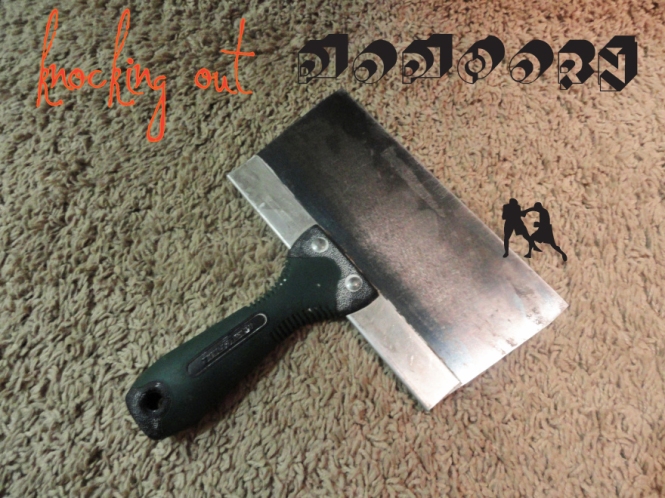
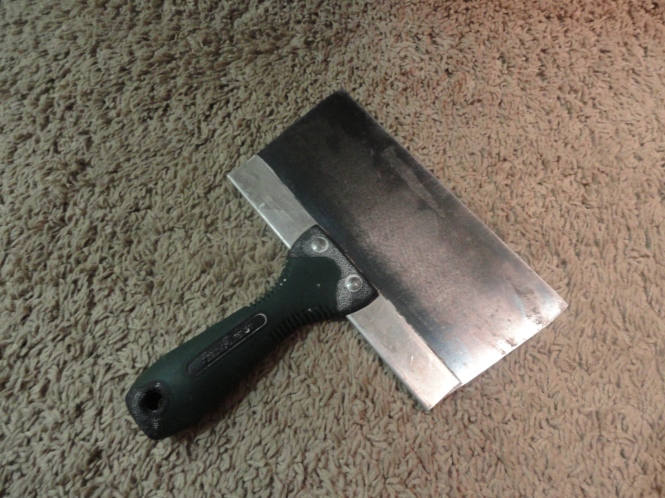
Knockdown Knife

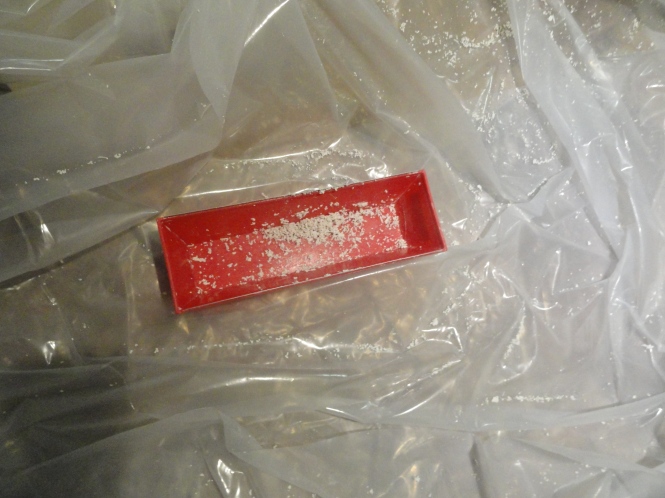
Tray
Putty Knife
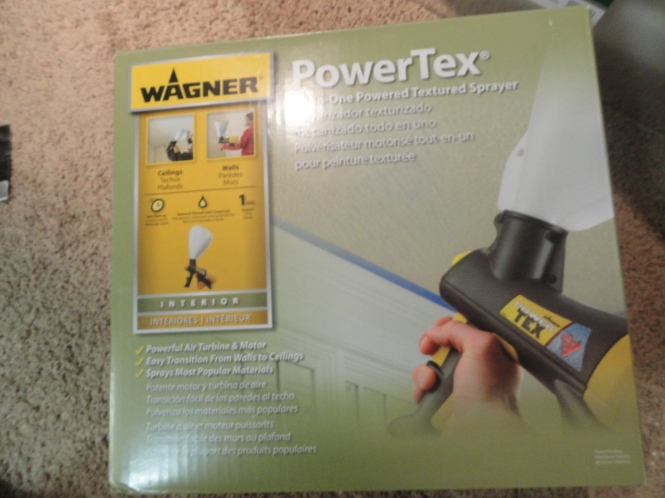
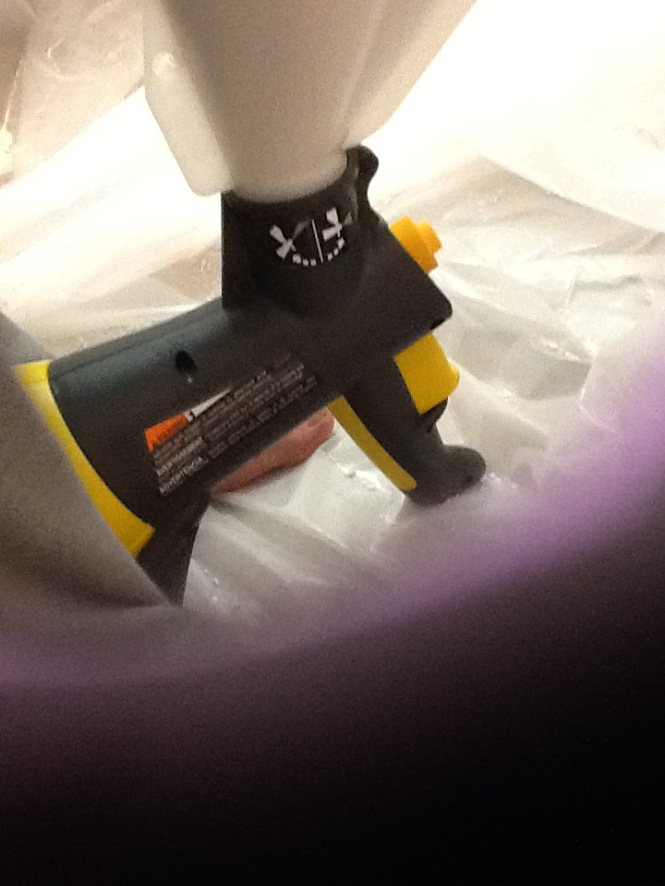
Texture Sprayer (Hopper Gun)
The Prep
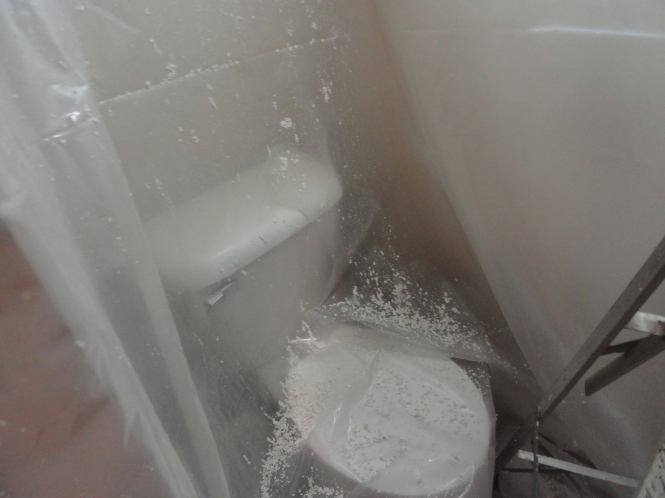
The first thing you want to do is put plastic on the floor. There’s going to be a lot of popcorn falling from the ceiling, and you can save yourself a big mess by laying down some sort of drop cloth.
*Please do not attempt to eat any of said falling popcorn. It will not be yummy.
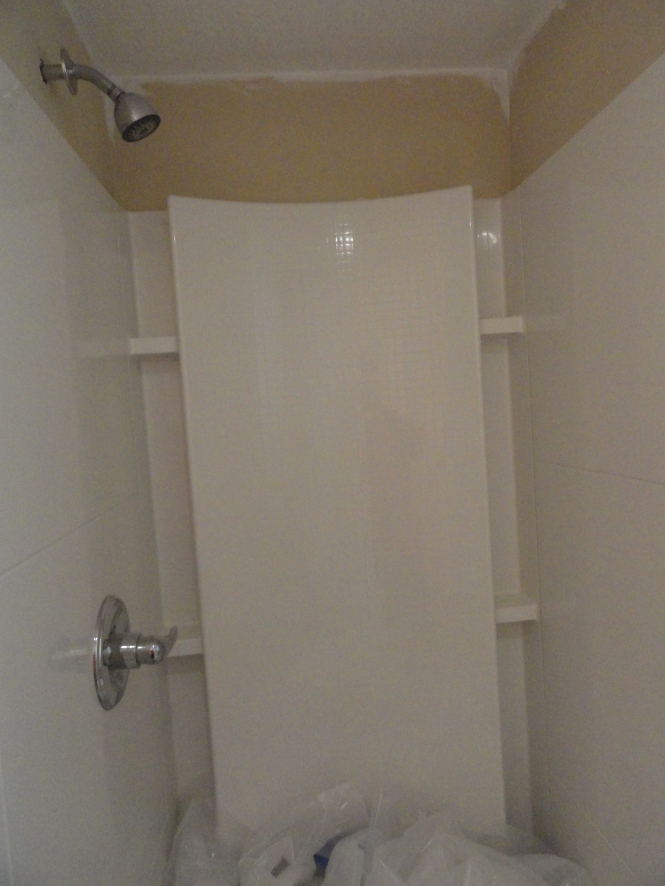
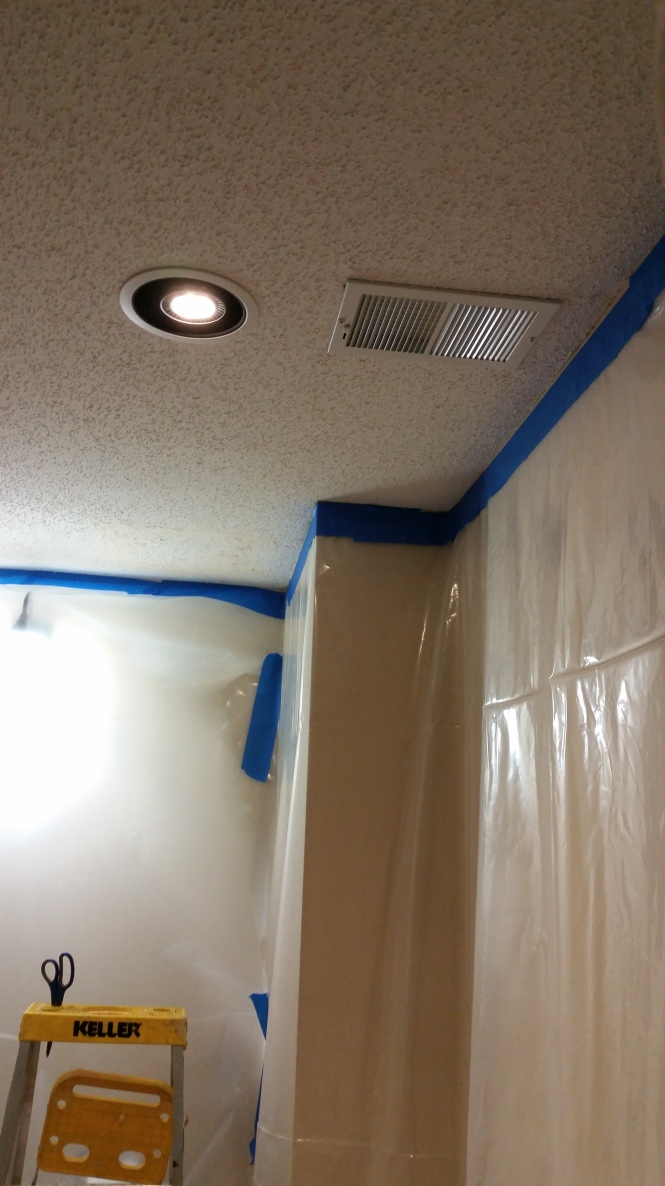
Next, tape plastic to all the walls. You’ll need to spray and then eventually paint the ceiling – if you hang all the plastic at the start, you’ll be in great shape.
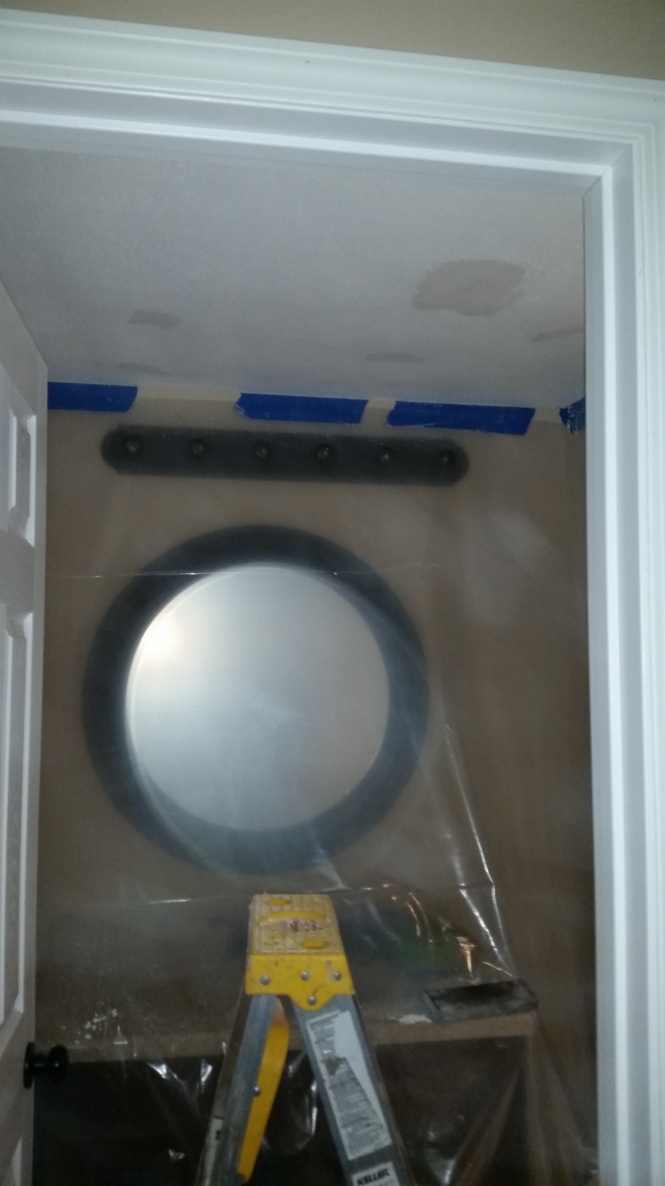
If your plasticing job isn’t perfect, go back around and put on a crisp tape edge where the walls meet the ceiling. The sharp edge will thank you when it’s time to paint.
That’s looking better!
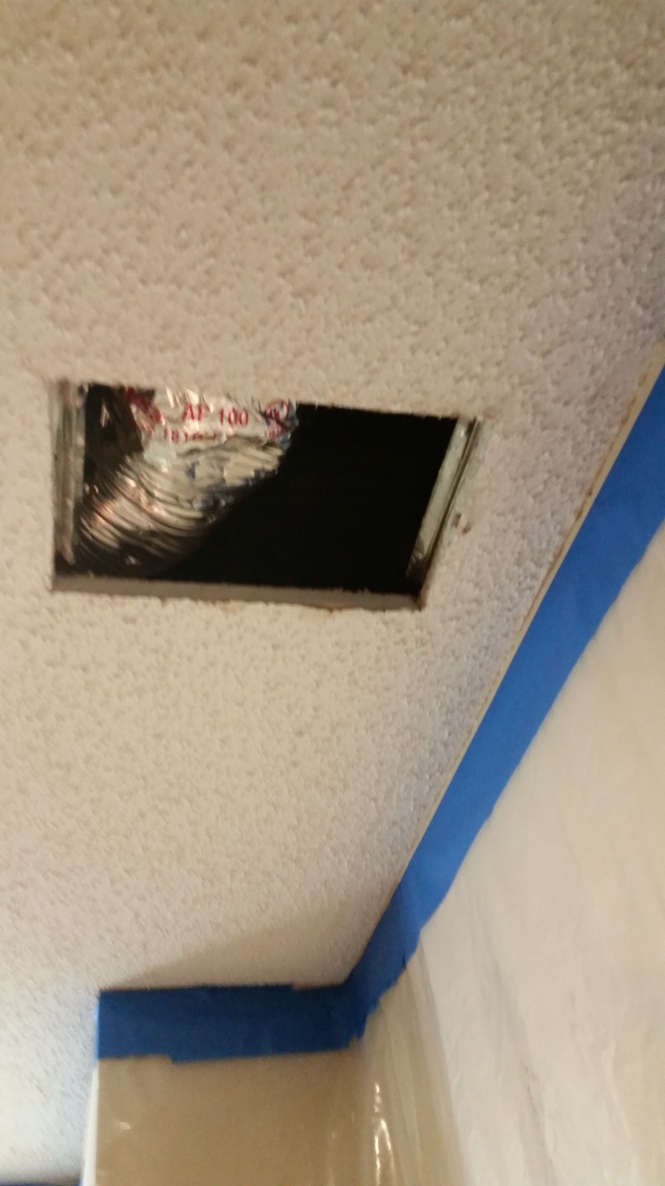
Remove any vents and light fixtures that are attached to your ceiling.
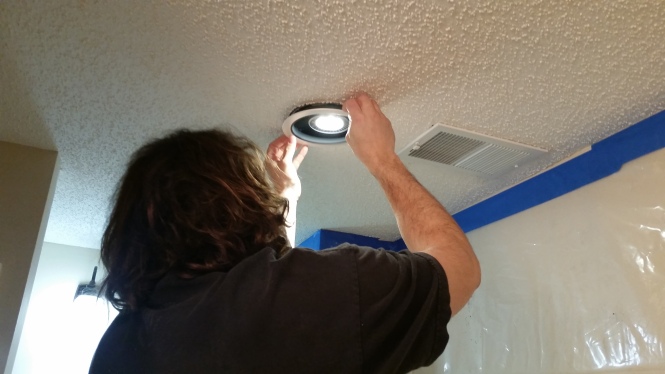
Tape up anything that can’t be removed.
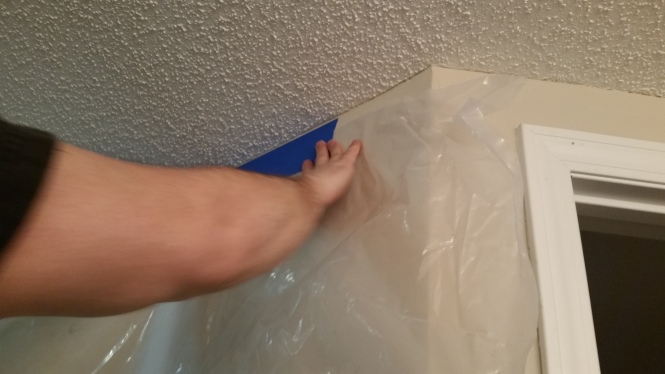
Make sure to keep a clean edge all around your wall.
The Process
Now you can get your industrial-sized sprayer full of water. At last!
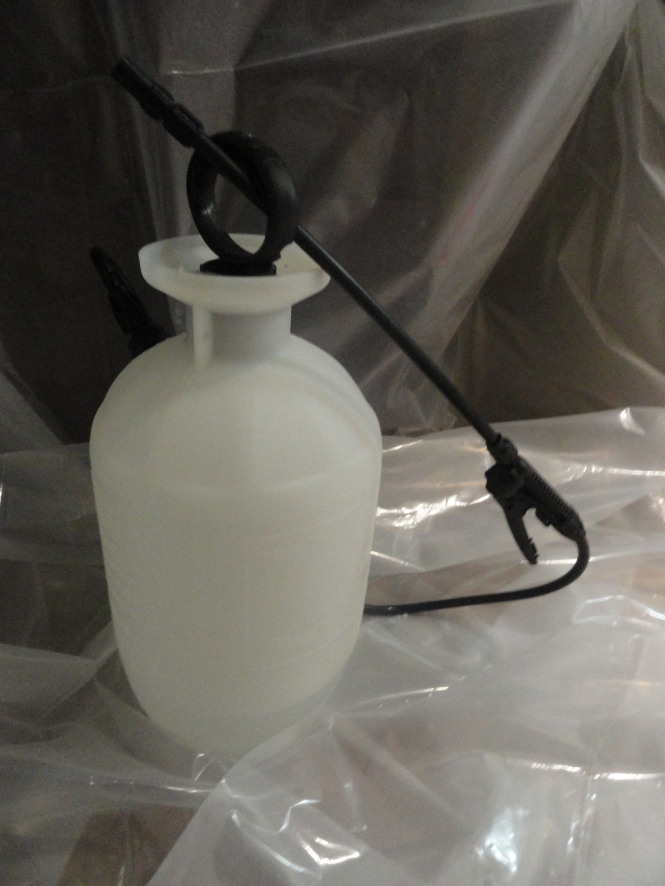
Start spraying your popcorn ceiling until it’s all completely damp.
Once it is, you can hop on a ladder and start scraping off the popcorn with a knife. Be firm enough to clear all the popcorn, but gentle enough to not rip out chunks of drywall.
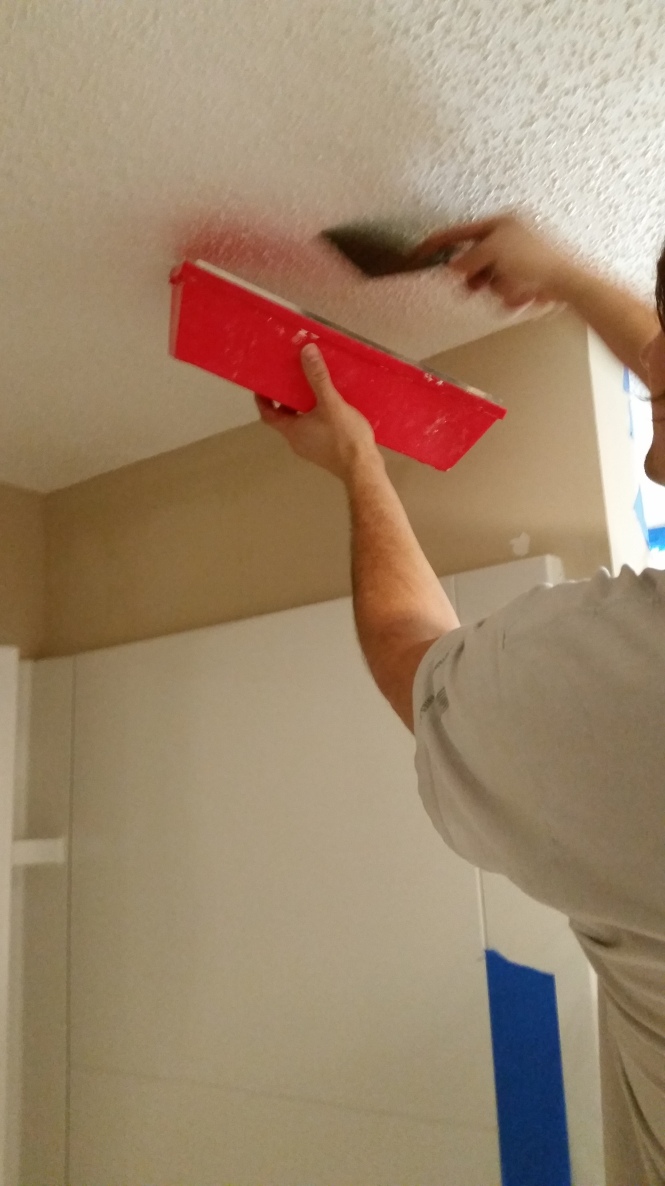
It should easily slide right off. It it works for you, grab a tray and scrape the old popcorn directly into that. If not, hey, that’s what the plastic is for.
Once done in all the nooks and crannies, wipe it down and let your naked ceiling dry for awhile.
Spraying
Load up your new texture gun with a spackle compound. This tool was a bit of an investment for us, but Joe plans to use it for a few more rooms. Most can be found for less than $100. (Professionally, this treatment costs much more.)
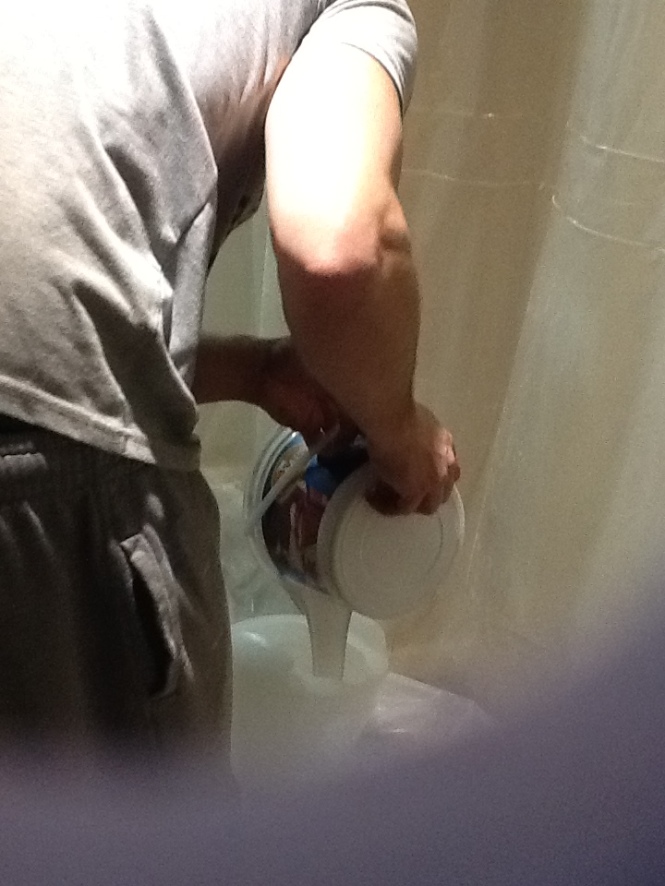
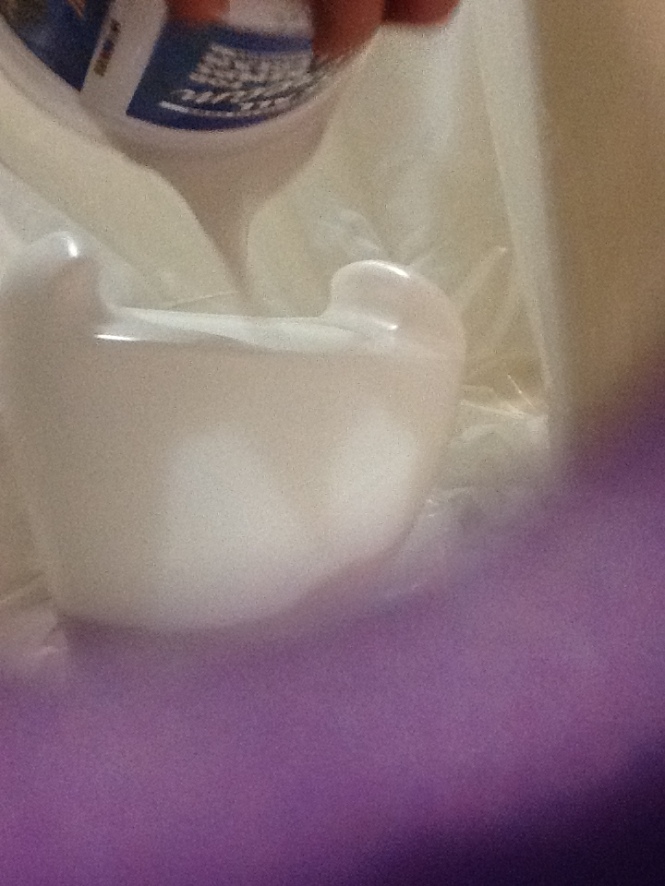
Pick up a bucket of spackling paste from any hardware store. We were instructed to mix it with water until it was the consistency of pancake batter. Whatever that means to you, I guess.
Sorry these photos are not the best, but you get the gist. Fill the gun with the mixed compound and cover your head.
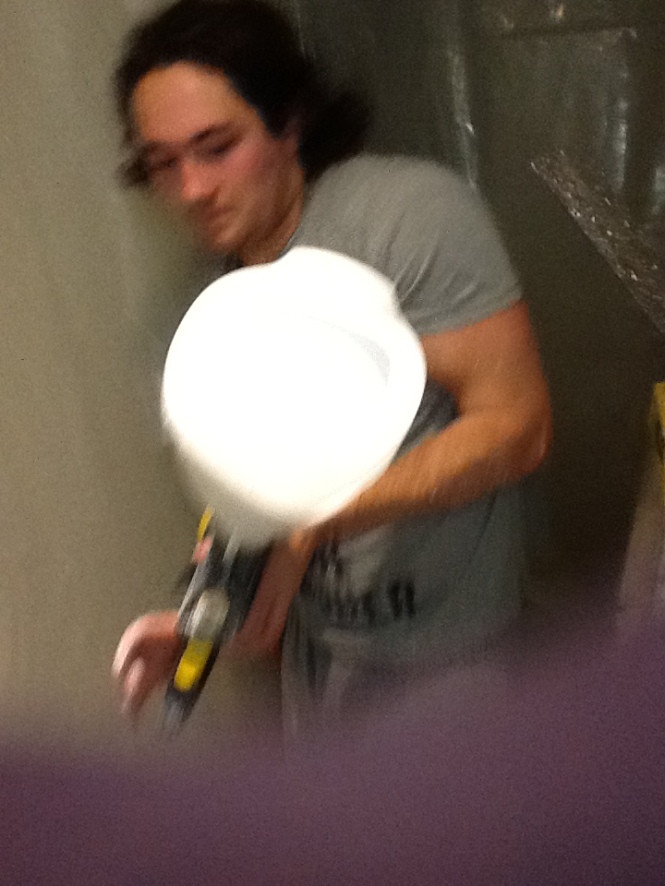
The man. The legend.
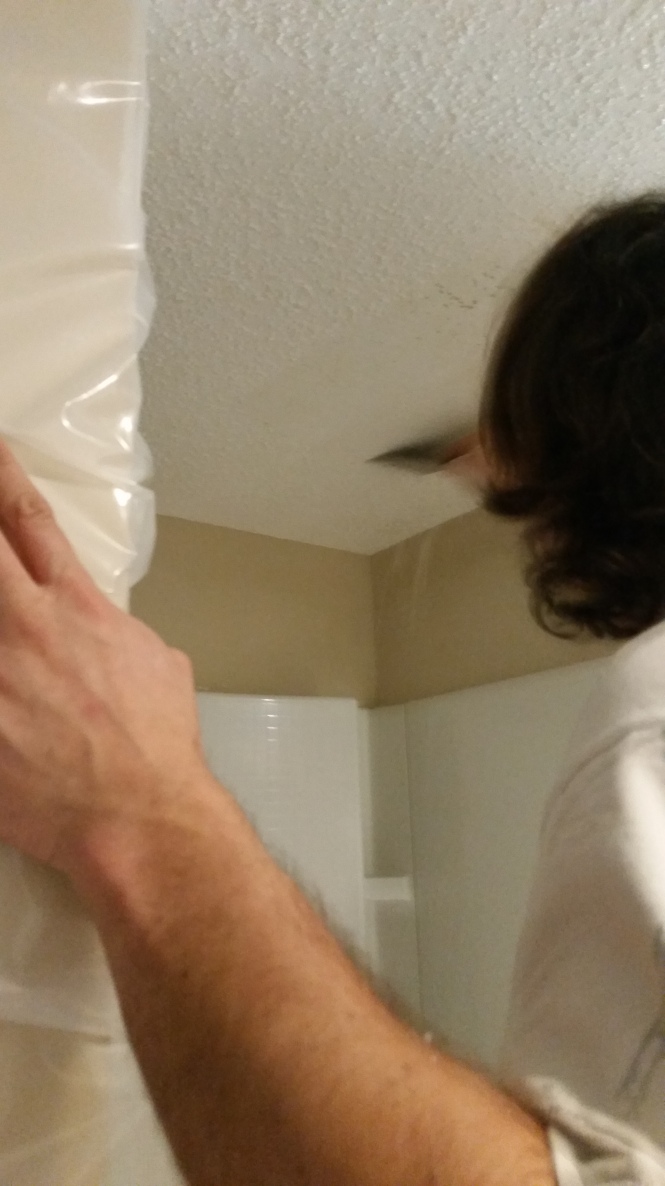
Try to spray the whole ceiling evenly. It will look a lot like the popcorn at this point, but let it sit for about 15-20 minutes, maximum. Don’t let it get too hard.
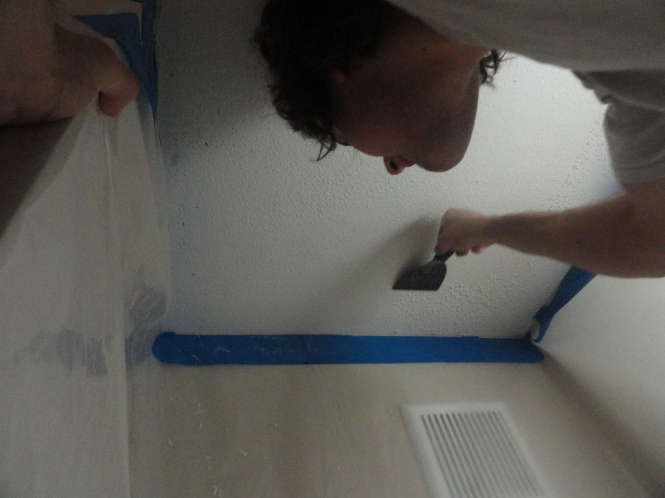
Then, using your large knockdown knife, pull and drag it across the ceiling in one direction. Important: Use no more than a 40 degree angle.
Joe watched several YouTube videos before doing this. Now he’s mastered the technique.
Here’s a short one that looks a lot like our process:
I played the role of rag girl. Wiping the blade of the knockdown knife with a damp, clean rag between strokes. Keep fluid swipes across the ceiling and try to have a uniform direction.
Once done, let this dry completely. You must paint over the knockdown texture to see the full effect. We used a white, mold and mildew resistant paint+primer. Just use a regular paint roller.
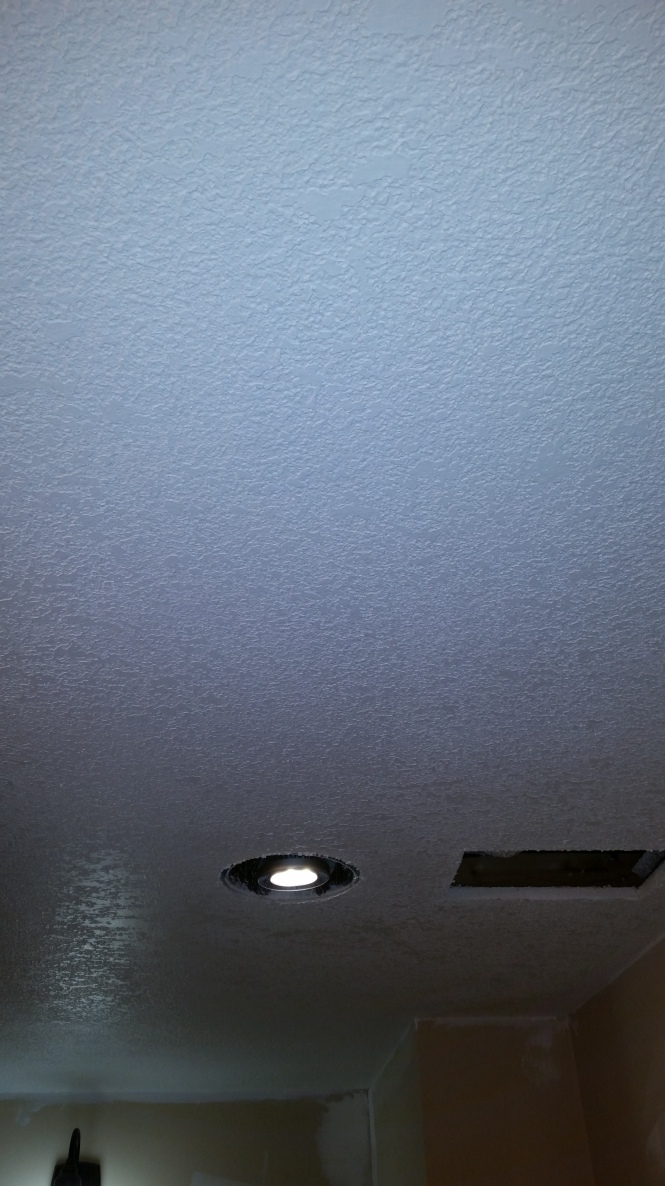
Here’s what the final product looks like ^ I promise it’s not hard to do. It’s a subtle change, but a good one! Goodbye popcorn, hello knockdown.
1 comment